7 min read
Planting Garlic in Fall
Choose planting stock, set cloves before winter, and recognize the short harvest window that matters for storage.
On this page
A good garlic bulb starts with a single clove in autumn. It may spend months below ground before the first leaves give you anything to inspect. By the time the leaves start drying the following summer, the work is nearly done. That long interval makes the first decisions unusually important. The health of the planting stock, the drainage of the bed, and the distance between cloves all matter more than an elaborate feeding schedule.
A small planting gives you a useful comparison. Try a variety recommended for your winters and one you are curious about, keeping the two in clearly marked rows. Garlic bulbs can look alike after curing. A label is the only reliable way to connect the cloves you enjoyed with what went into the ground.
Buy cloves that suit your winter
Hardneck garlic makes a firm central stalk and usually produces a flowering stem called a scape. Its cloves tend to be arranged in a single ring. Many hardnecks do well in places with a distinct cold winter. Softneck garlic usually has several layers of cloves and a flexible neck suitable for braiding. Some softnecks perform better in mild winters and store longer under suitable conditions. These categories give you a starting point, but the cultivar and local conditions determine the result. Ask growers in your area what does well and when they plant.
Buy planting garlic from a reputable source and inspect it before opening the bulbs. Look for firm heads with clean wrappers and no unusual odor, mold, or soft patches. A grocery bulb might grow, but its variety may be poorly suited to the climate and you usually have little information about how it was produced. Planting material can bring diseases or pests into a clean bed. If an entire shipment looks suspicious, contact the supplier rather than planting the best looking pieces.
Separate the cloves shortly before planting. Keep their individual skins intact where possible and protect the flat basal plate at the bottom. Select large sound cloves for the main row and cook with the small healthy ones. If you want to compare clove size, plant a short, labeled group of smaller cloves beside the larger stock of the same cultivar. That gives you a fairer comparison than putting all the little cloves in a shaded corner.
Give the bed a way to drain in winter
Choose a sunny bed that drains after heavy rain. Look for the part of the garden where water lingers after the rest is ready to work. Garlic spends too long in the bed to tolerate a reliably waterlogged spot. A slightly raised bed can improve drainage on difficult ground. If possible, avoid a bed recently used for garlic, onions, or related crops, particularly if there were signs of disease. A different bed with clean planting stock is a stronger start than a promise to treat problems after they appear.
Loosen the surface when the soil is dry enough to crumble. Well finished compost can help an ordinary garden bed, but work it in without leaving large pockets. Avoid applying fresh manure. A soil test gives you a better basis for adding nutrients or adjusting pH than guessing from last year's bulb size. If the soil is already fertile, an extra dose of fertilizer in autumn is seldom the deciding factor.
Plant after autumn has cooled and before the ground freezes hard, often a few weeks ahead of the expected freeze in cold winter regions. You want time for roots to begin developing. Mild regions need a locally appropriate date because their soil may never freeze. Some cultivars need a meaningful cool period to form cloves. Ask a local extension office or the supplier how growers in your climate handle planting dates and any recommended prechilling. A fixed date from a different latitude is less useful than your own soil and weather.
Put each clove upright
Make a furrow or individual holes so the pointed end is up and the flat plate is down. A practical starting point in many gardens is several inches between cloves, commonly around six inches for full sized bulbs, with rows far enough apart to weed and inspect. Cover to the depth recommended for your area and the planting stock. Around two inches of soil over the clove is a common starting point in many temperate locations, with adjustment for soil and winter conditions. Avoid leaving the tip at the surface where it can dry or be pushed out by repeated freezes and thaws.
Set labels at both ends of a cultivar row. If you are planting a large bed, stretch a line along the row so it will be easier to weed after winter. Water if the soil is dry and no rain is expected. Let excess moisture drain. In cold regions, an open layer of clean straw or similar mulch after planting can help moderate temperature swings. Make sure it is loose enough that shoots will emerge and inspect it for rodents or matting. In a mild rainy winter, a heavy, wet mulch can do more harm than good.
An early leaf tip does not automatically mean you planted at the wrong time. In mild spells, a clove may send up a short shoot. Check that the bed drains and that frost heaving has not exposed the clove. Do not dig up a healthy plant to see whether it has rooted. If a whole row is lifting out of the soil, add a small amount of loose soil where needed and protect the bed from further swings.
Watch the growth shift in spring
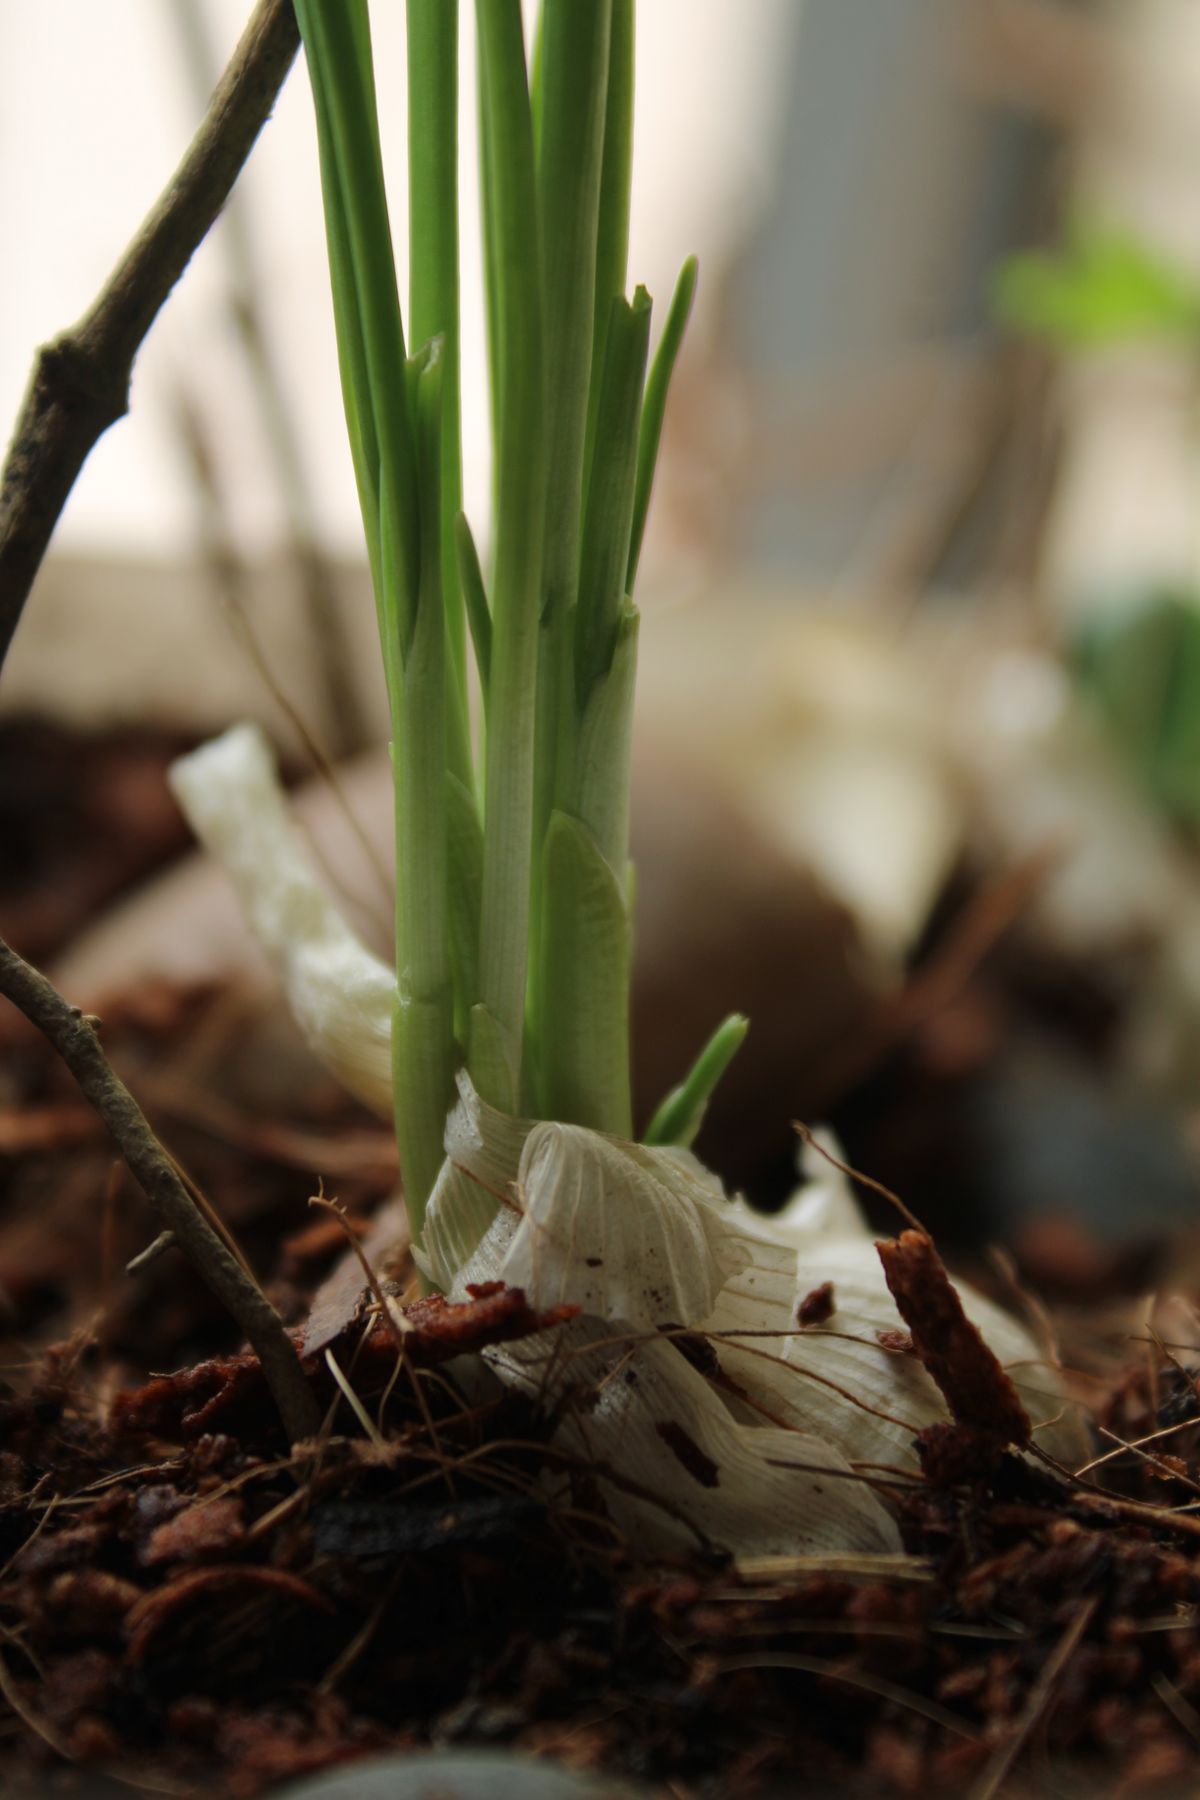
As new shoots appear, loosen or pull back a matted mulch. Leave enough open space around the plants to see the stems. Weed while the competing plants are small. Garlic has a relatively narrow leaf canopy and does not shade out weeds well. Work shallowly near the rows and avoid chopping into bulb roots with a hoe. If you need to add nutrients based on your soil test, do so while leaves are actively expanding and use the recommended timing and rate for your area. Late heavy nitrogen can prolong leaf growth when the plant should be maturing.
Water during dry periods in spring and early summer so the root zone does not dry repeatedly. Drip or watering near the soil helps keep the leaves dry. Reduce irrigation as the lower leaves begin to brown and harvest approaches, particularly if the bed is already moist. The object is to lift sound bulbs, so avoid turning the bed into mud in the week you expect to dig.
If a hardneck sends up scapes, snip them once they are long enough to collect and often beginning to curl. Leave the foliage intact. Removing the scape can help the plant direct growth into the bulb and gives you a mild garlic flavored ingredient. A missing scape on a softneck is normal. If yellowing starts while neighboring plants are growing vigorously, pull a single weak plant and examine the roots and base. A soft bulb or recurring patch of dead plants needs identification before you reuse the bed for onions or garlic.
Lift a sample and check its wrappers
Prepare the curing place before the first digging day. A clean rack or shallow screen keeps the bulbs off a damp surface. Put a label beside every group as you set it down, including the date you dug it. If several varieties finish at different times, the dates help you remember which necks to check first and which still need airflow.
When several of the lower leaves have browned and a few upper leaves are still green, lift one plant to inspect. The bulb should be filled out, with distinct cloves beneath wrappers that are still intact. Immature bulbs can be small and poorly divided. Overmature bulbs may split their wrappers, exposing cloves and shortening their storage life. Do not wait for every leaf to brown. Check a sample from each cultivar because they can mature on different dates.
Use a fork or spade to loosen the soil several inches away, then lift the bulb without yanking on the neck. Shake off loose soil gently and keep the bulbs out of strong sun. Cure them with their roots and leaves attached in a shaded, dry, ventilated spot. Lay them out so air reaches the sides or hang small bundles with space between them. Allow several weeks, checking until the outer wrappers and necks are dry. Trim the roots and stems after curing and brush away loose dirt. Set aside damaged bulbs to use promptly if otherwise sound.
Mark the garlic bed with a stake taller than the winter mulch. The marker keeps you from planting an early crop into the same strip before the shoots appear. Sketch the position of each variety if you planted more than one. It is easier to compare harvest timing when the rows stay identifiable.
Store the clean cured bulbs where they stay dry and have some airflow. Check them periodically and discard deteriorating ones. Record the date you lifted them, which variety had the best wrappers, and which stored well enough to justify its space in the bed. If you save some for planting, choose sound bulbs from healthy plants. A successful autumn planting is easier to repeat when you know which cloves came from it.
Back to top