8 min read
Growing Tomatoes in Containers
Choose a tomato that fits your space, set up a pot that holds moisture through summer, and learn what the flowers and fruit are telling you.
On this page
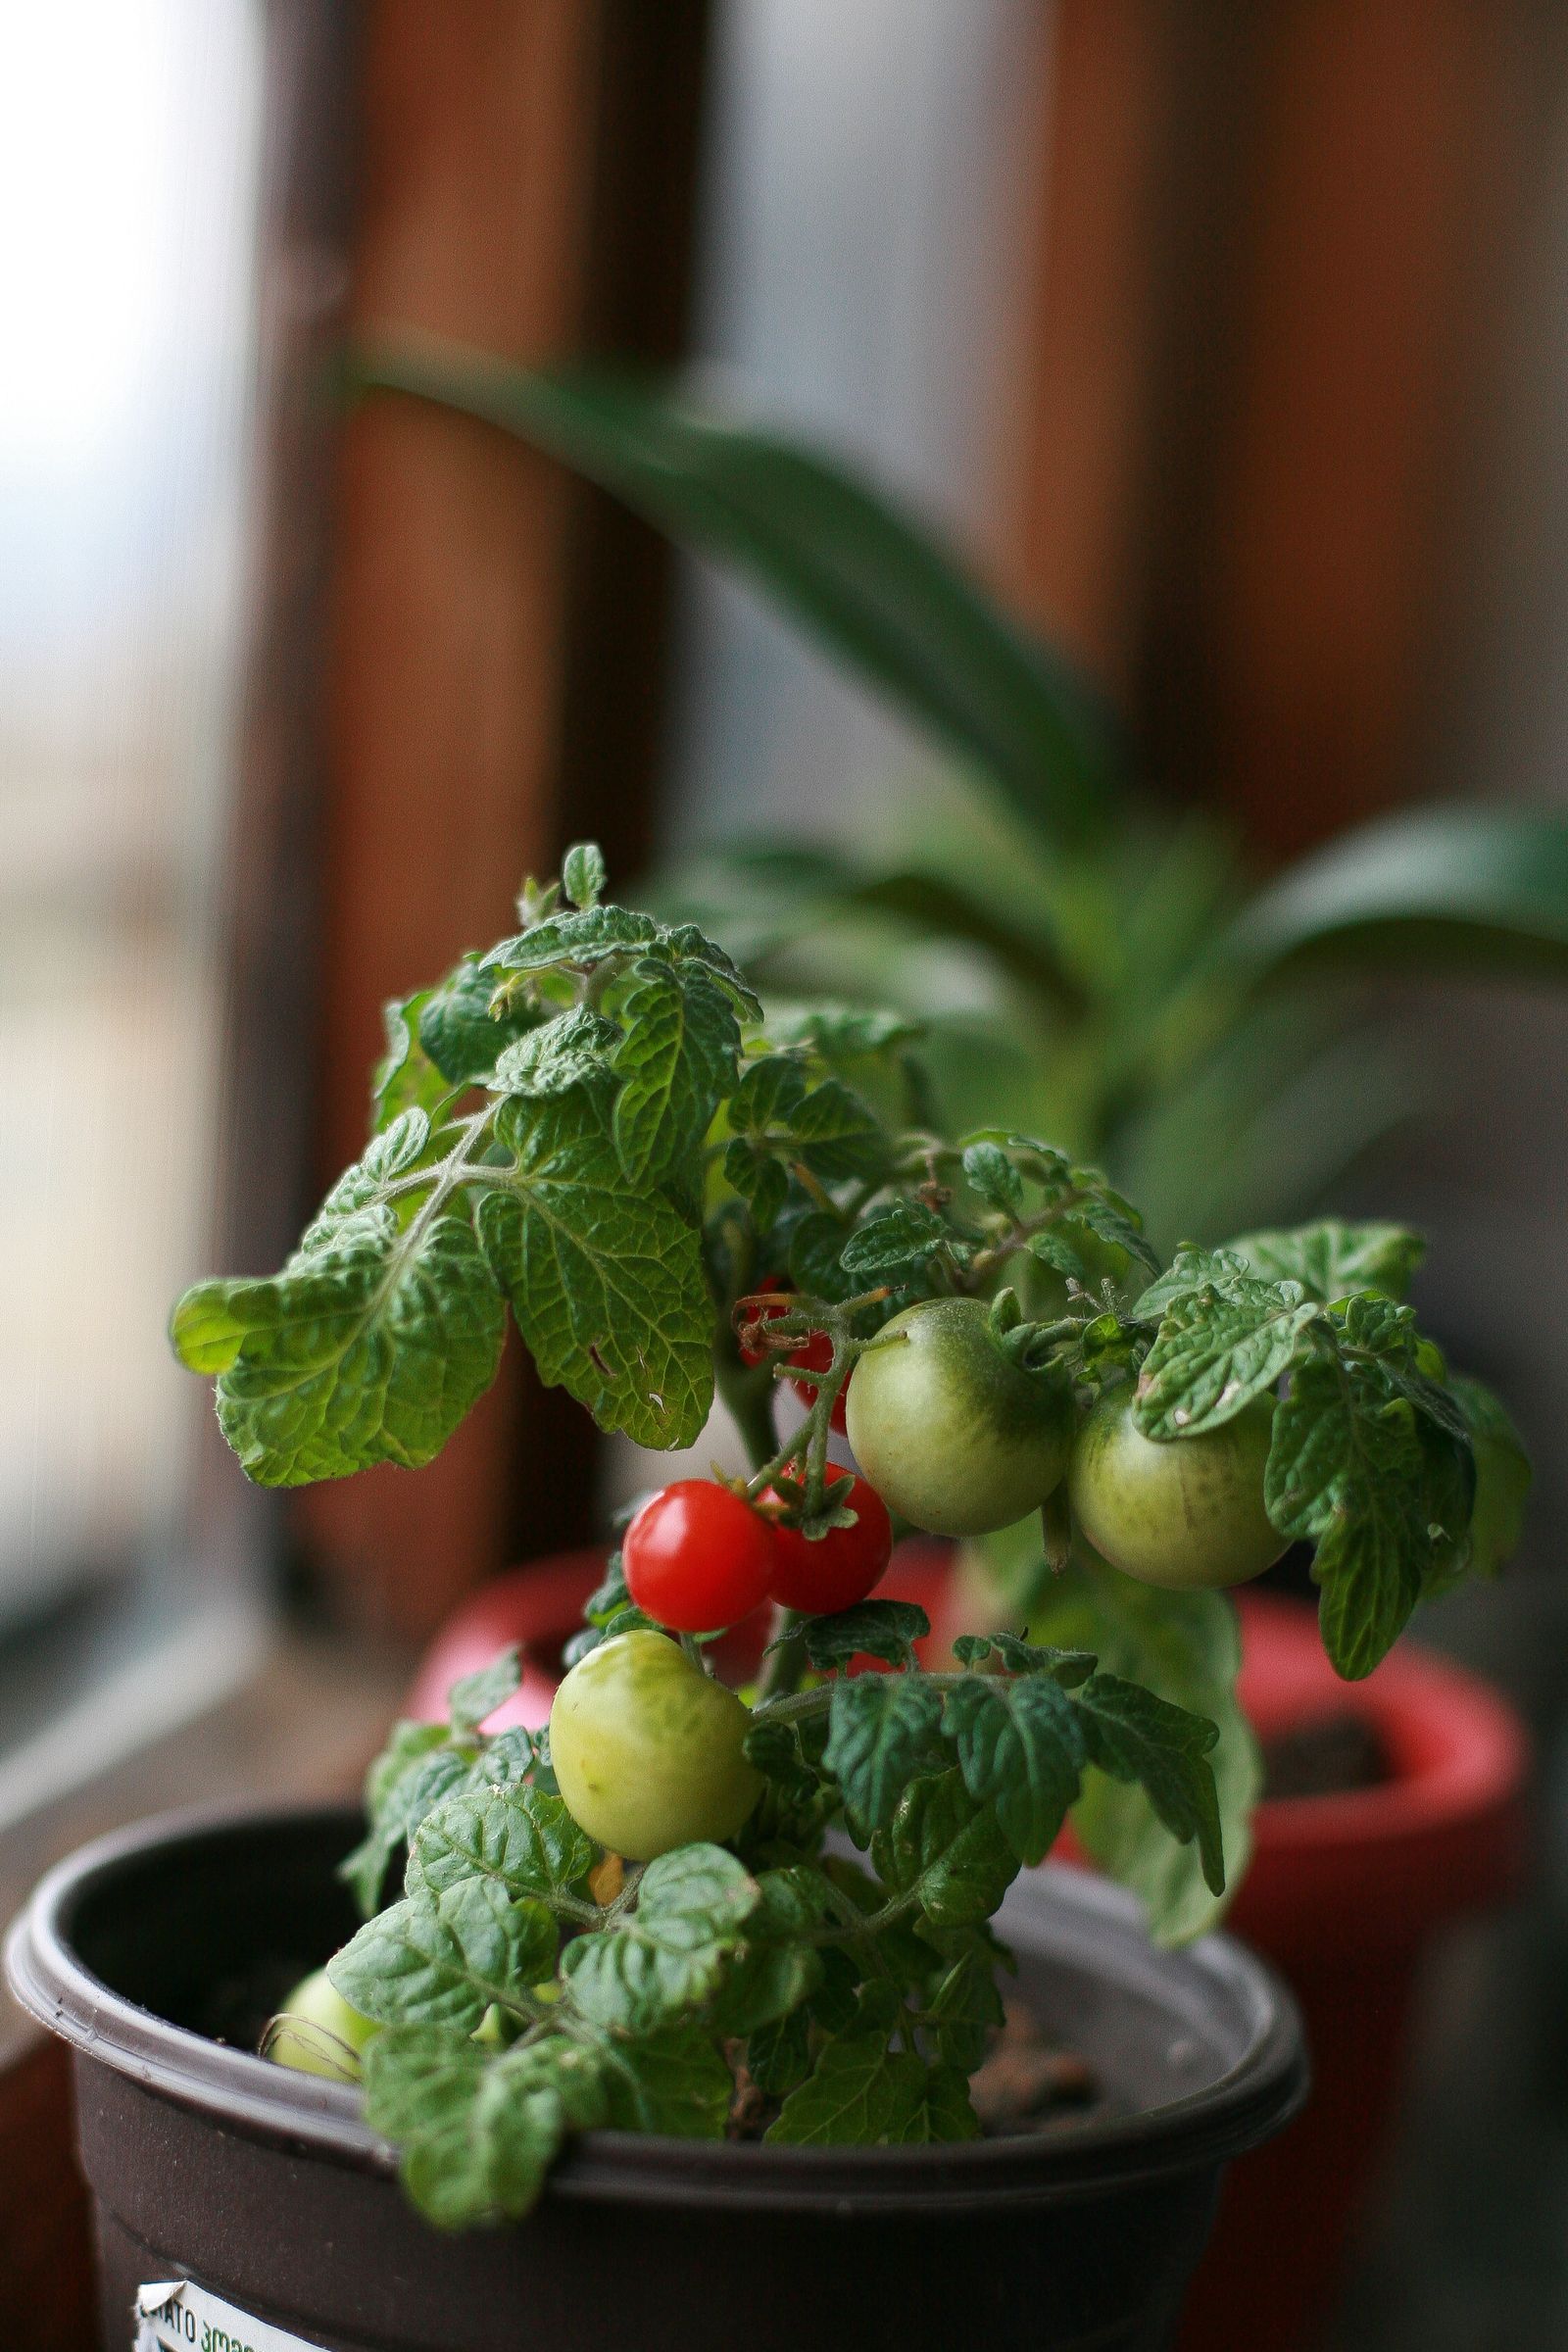
A tomato can outgrow its pot long before it outgrows its cage. One week the soil is still moist after breakfast, and the next the leaves are hanging over the rim by lunchtime. The fruit that looked perfect on Monday develops a dark patch by Friday. At that point, adding fertilizer or moving the plant into shade can feel like progress, but the most useful change is often to give the roots more room and get water to them more evenly.
Start with the tomato you actually want to eat. A handful of sweet cherries from the steps calls for a different plant than the beefsteaks you want to slice for sandwiches. Both are possible in a pot. The variety, the hours of light, and how easily you can water in August matter more than the shape of the planter.
Take a light reading before you shop
Look at the growing spot three or four times on a clear day. A corner can seem bright all afternoon while the plant itself receives only indirect light. Count the hours when sun reaches the leaves directly. Aim for at least six hours and preferably closer to eight where summers are mild. In very hot climates, morning sun with some relief from the late afternoon heat can be a better fit than a west wall that stays hot after sunset.
There is no need to buy a light meter. Note where the shadows from the roof, rail, or neighboring tree fall and how quickly they move. If the strongest light lands outside the area where you can safely keep a pot, find that out before you choose a large variety. Move an empty pot between two possible spots and walk past it with a full watering can. A plant that blocks the door or requires carrying water down two flights of stairs is harder to look after when the weather turns dry.
Check wind at the same time. Wind dries mix and can work a tall cage loose. Put the pot where you can support the plant safely without fixing anything to a balcony rail unless the building permits it. Consider the weight of wet mix and the path that drainage water will take. A rolling caddy can be useful on a level patio if it is rated for a full container and can be locked in place.
Match the fruit to the root space
A determinate tomato produces most of its crop over a relatively short period. Compact determinate varieties and some dwarf tomatoes stay manageable where overhead space is tight. A trailing cherry bred for a basket can fit a small footprint, although a hanging basket is one of the quickest containers to dry. An indeterminate tomato continues to grow and flower while conditions suit it. It usually needs a taller support and attention to its stems through the summer.
Read the variety label for mature height and recommended pot size. Growth habit and fruit size are separate traits. Some cherry tomatoes make very long vines, and some relatively compact plants make large fruit. If labels provide little detail, start with a compact patio tomato in a container of about five gallons, or roughly nineteen liters. For a vigorous plant, ten to fifteen gallons gives more margin on hot days. Keep one plant per pot unless the cultivar directions specify otherwise. Two starts in one undersized pot soon need the same water at the same time.
A tall and narrow container is easy to knock over. A stable pot with a broad base gives the cage a better footing, especially once several pounds of fruit are hanging off one side. A light colored container reflects more sun than black plastic. Porous clay can work in a mild spot where you water often, but it can dry faster than plastic or glazed ceramic. Check for open drainage holes regardless of the material.
Plant once the roots can keep moving
Use a loose mix sold for outdoor containers. Soil dug from a yard can pack down in a pot, especially after repeated watering. Dampen dry mix before filling the planter so the first watering reaches the interior. Leave an inch or two between the finished soil surface and the rim so water can soak in without spilling over the side.
Wait until frost risk has passed and nights are reliably mild. If you raised seedlings indoors or bought them from a greenhouse, give them about a week to adjust. Start with a sheltered spot in shade for a short period, then increase sun exposure gradually. Bring them in during strong wind or a cold snap. A purple tint or leaf damage after a cold night is a reason to delay setting out the rest.
A young tomato can form roots along a buried stem. You can remove its lowest leaves and set the root ball a little deeper than it was in its nursery pot, keeping all remaining foliage above the mix. If you bought a grafted plant, keep the graft union clearly above the soil to preserve the benefit of the rootstock. Water thoroughly to settle the mix. Set the support now, while you can see where the roots are and while the cage is easy to position.
Water the whole pot and watch how it dries
Water at the base until some drains from the holes, then empty any ordinary saucer that would otherwise hold the pot in standing water. Lift or tilt a small pot just enough to get a feel for its weight when moist. With a large container, push a finger a couple of inches into the mix or use a plain wooden skewer as a quick check. A pale, dry surface can sit above damp mix. A light pot with dry mix below the surface needs a full watering.
Dribble water onto several spots if the mix has shrunk away from the sides. Water can run down a crack and out the bottom while the center stays dry. Pause after the first pass, then water again slowly. Check with a skewer before calling it done. Where the pot dries between morning and evening, a larger container, mulch, or a properly adjusted drip line is usually more helpful than spraying the leaves. Keep mulch clear of the base of the stem.
Look again if the plant wilts during the hottest part of the day. A plant with adequately moist mix may recover as temperatures fall. A plant still limp the following morning deserves a closer look at the roots and stem. Constantly adding water to an already wet container can leave roots short of oxygen and make the wilting worse.
Feed according to the instructions for the mix and fertilizer you use. Some mixes already contain enough for the first weeks. Tomatoes need adequate nutrients through fruiting, but extra nitrogen can produce a lush plant with little crop. Stick to a measured rate for containers and write down when you applied it. If the plant stalls, check light, temperature, and root moisture before feeding again.
Read the flowers and the fruit
Tomato flowers usually pollinate themselves when wind or vibration releases pollen. A sheltered plant can benefit from lightly tapping a flower stem when flowers are dry. Be patient during sustained heat or cold. Flowers may drop during either extreme, and fruit set can resume once the weather moderates. Moving a manageable container away from a heat reflecting wall can help during a severe hot spell, but a large plant is easier to place well at the start.
The dark sunken patch at the bottom of a fruit is often blossom end rot. That fruit will not repair itself. The disorder involves insufficient calcium reaching the developing fruit, frequently because water delivery has been uneven. Regular watering and enough root space can protect later fruit. An automatic dose of lime or calcium without knowing the mix is a poor first response. Sudden heavy watering after a dry spell can also encourage fruit cracking. Pick ripening fruit ahead of heavy rain if cracking has been a regular problem.
Use clean hands or shears to remove leaves touching the potting mix. If older leaves develop spreading spots, photograph both sides and ask a local gardening service for an identification before treating. A small amount of pruning can improve airflow, but a heavily stripped plant loses shade and can develop pale sunscald patches on exposed fruit. Limit pruning on determinate plants because removing a large number of their growing shoots can reduce the harvest.
Pick at the stage you need
A cherry tomato is often ready when it reaches its cultivar's ripe color and comes off with a gentle tug. Full sized tomatoes can be harvested once they start to turn and allowed to finish indoors at room temperature. Leave them to ripen on the vine if they are protected from cracking, pests, and frost. Color varies widely among cultivars. With a variety that stays green when ripe, look for a slight softening and the subtle color change described on the seed packet.
When nights turn cold at the end of the season, save sound fruit that has started to color. Check it every few days and discard fruit that becomes soft or moldy. Clear the stems and ties, clean the support, and check where the roots ended up. A pot densely matted with roots by midsummer was telling you something. Before the next plant goes in, decide which adjustment would have saved the most work: a larger pot, a more compact variety, or a watering spot within easy reach.
Back to top