7 min read
Carrots in Containers
A deep planter and a well tended seed row can produce straight roots even where there is no garden bed.
On this page
The tricky part of growing a carrot in a pot comes before there is anything green to look at. The seed lies just beneath the surface, where a sunny afternoon can dry it out. Give it time to emerge, make room between the seedlings, and the crop asks relatively little else. The hardest habit to break is checking progress by pulling roots too early. Instead, watch the widening shoulder where each root meets its leaves.
A container has two advantages over a patch of ground. You can choose a mix without stones or hard clods, and you can position it where you will remember to check the surface during germination. A bucket, rectangular box, or large nursery pot can all work. The depth and the size of the open surface determine what you can grow and how much you can harvest.
Start with a picture of the mature root
Study the shape on the packet as closely as the days to maturity. A round Parisian type can grow in a much shallower box than an Imperator type. Short Nantes or Chantenay varieties make a useful compromise when you have room for a moderately deep container and want a carrot long enough to peel. A packet that says baby carrot might mean a variety with a naturally small root or a longer variety intended to be harvested young. Look for the actual dimensions.
Choose a pot with several inches of mix below the projected root length. A short crop may be happy in ten to twelve inches of mix. Long varieties usually call for at least fifteen inches, and deep narrow pots can be difficult to water evenly. A broad rectangle offers more row length than a round pot with the same depth. It also makes it easier to sow one strip now and reserve another for later. Measure usable depth from the final soil line to the bottom. The height printed on a pot label may include a pedestal or a rim that takes up space.
Check the container for open drainage holes, then set it where the holes stay clear of paving. Fill it with fresh, loose container mix, breaking apart any compressed chunks as you go. A layer of gravel at the bottom takes away root room and does little to improve the way the potting mix drains. Avoid fresh manure and very coarse compost in a carrot planter. Besides food safety concerns with raw manure, coarse or compact material gives the root tip obstacles to grow around. Water the filled pot and top it up if the level settles dramatically. A shallow lip around the edge keeps irrigation from carrying away the seed.
Give the seed two or three unremarkable weeks
Sow directly in the container. A carrot root that gets kinked or damaged during transplanting can grow with a fork or a bend. Choose a cool part of the growing season and avoid setting a dark plastic planter where it will bake against a wall. Bright light is useful once the leaves appear. Six hours of sun is a reasonable target, and some afternoon shade can ease the strain during a warm period.
Draw a very shallow groove with a finger or the edge of a label. Follow the packet depth, often about a quarter inch. Tip a few seeds onto a white saucer so you can see what you are doing. Move them into the groove with your fingertips or use folded paper to guide them. Pelleted seed can be easier to place. It still needs dependable moisture so the coating breaks down and the seed can swell. Cover the groove lightly and mist or water with a fine rose. A strong stream can wash all the seed to the edge of a pot.
Carrots can take a couple of weeks or longer to appear, especially in cool conditions. Feel the top layer daily while you are waiting. A loose cover such as a clean piece of burlap can slow evaporation, but it needs to come off as soon as the first seedlings appear. Lift it every day to look. In a situation where you cannot check daily, skip the opaque cover and keep the pot in a spot with less drying wind. Do not sow a second helping into the same row after the first quiet week. The germination may simply be slow, and two sowings together leave an unnecessarily dense row.
Thin by looking ahead to the harvest
At first the narrow seed leaves can resemble grass. The fernlike true leaves make the row easier to recognize. Once you can tell one plant from the next, remove the closest extras. Use fine scissors and snip at the soil line if pulling would disturb the plants you mean to keep. A second pass is worthwhile once the plants have grown enough to judge their spacing. Leave the amount of room indicated for the mature variety, commonly about two inches or a little more for broad shoulders. The goal is room for each root to fill out, with enough air between the leaf tops that you can inspect the row.
A long row with gaps may produce less than expected even after thinning. See where the gaps fell before starting over. An empty strip beside the rim might have dried faster than the center. A blank section on the side under a railing might have been hit by water runoff during a storm. Moving the next row inward or switching to a finer watering nozzle can solve the actual problem. Write the sowing date on a label at the end of the row. The plants on the other half of a shared box can look much the same after a few weeks even if they are a different age.
Keep the root growing at a steady pace
Once the plants are established, check below the surface before watering. A container that has dried through much of its depth takes more than a splash from the kitchen tap to rewet. Apply water in two slow passes and let the pot drain. Try to avoid swinging repeatedly between very dry and saturated. A sudden rush of water after a dry spell can split roots that were close to full size.
If your mix contains fertilizer, take that into account before feeding. Heavy nitrogen can encourage a large green top without doing the root any favors. Follow the container rate on a suitable fertilizer if you need one. Look at several plants before making a diagnosis. One carrot with an unusually small top next to a healthy stand may have a damaged root or a crowded neighbor. A whole pot that is weak suggests a shared issue such as insufficient light or water. Check those conditions first.
Root shoulders sometimes push above the soil surface and turn green in strong light. Brush a little loose mix around the shoulders without covering the leaf bases. In areas with carrot fly, fine insect mesh can prevent egg laying when it is fitted early, supported above the foliage, and secured along every edge. Ask a local extension or gardening service whether the pest is common where you grow. A container raised a little above ground is convenient for inspection, but height on its own is unreliable as a barrier.
Pull one root before lifting the row
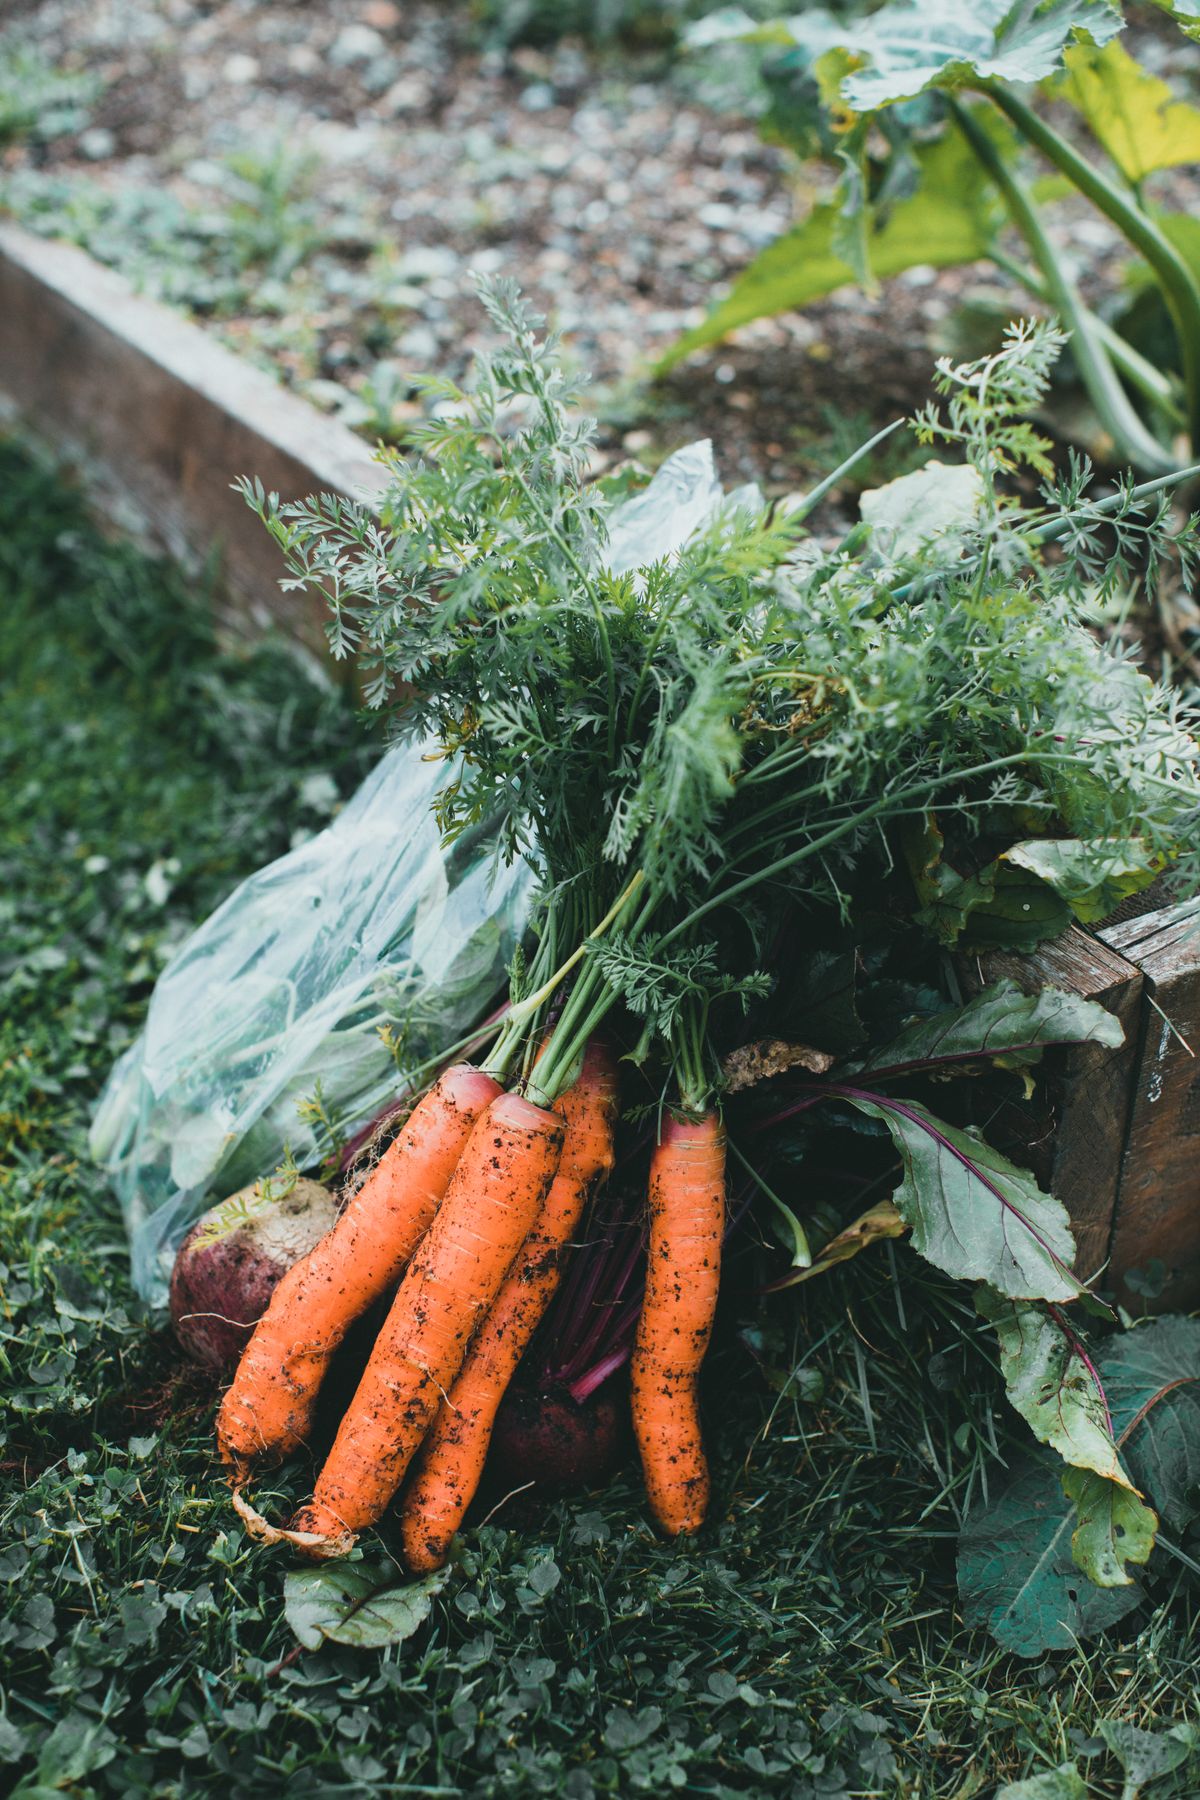
Use the packet maturity range to decide when to check. It is an estimate affected by the variety, temperature, and the conditions in the pot. Move a crumb of mix aside with your finger to see how wide the shoulder has become. Pick a plant from a crowded spot first so the neighboring roots gain space. Loosen the mix around it with a narrow trowel, staying far enough away to avoid slicing the root. Hold the foliage close to the soil and pull straight up. If the foliage snaps, loosen the soil a little more and lift the root from underneath.
Taste the first carrot before deciding how long to leave the rest. A small root with the right texture is worth taking, particularly if hot weather is coming. A root with green shoulders can be trimmed before use. If several roots are rough, forked, or hairy, compare where they grew and how the soil felt. A bend at the same depth on every plant suggests a shallow container or a compact layer. Forking that occurs randomly can come from obstacles or damage to the growing tip. Make one change for the next planting so you can tell whether it helped.
Pull a trial carrot from the most crowded part of the row before harvesting the entire pot. Its size can reveal that a second thinning is due, even when the shoulders of the more widely spaced roots look ready. Water normally after disturbing the row and press loose mix back around roots that will remain.
Cut the leaves off the carrots you want to store, leaving a small stub. The tops continue to draw water from the root after harvest. Refrigerate sound roots and use damaged or split ones first if they are otherwise fit to eat. Note the spacing and the real harvest date on the packet. The next sowing takes only a few minutes when you know how many seeds to lay out and how long that particular planter stays moist.
Back to top