7 min read
Growing Snap Peas for a Crisp Spring Harvest
Sow snap peas early enough to flower in cool weather and give the pods a support you can pick from both sides.
On this page
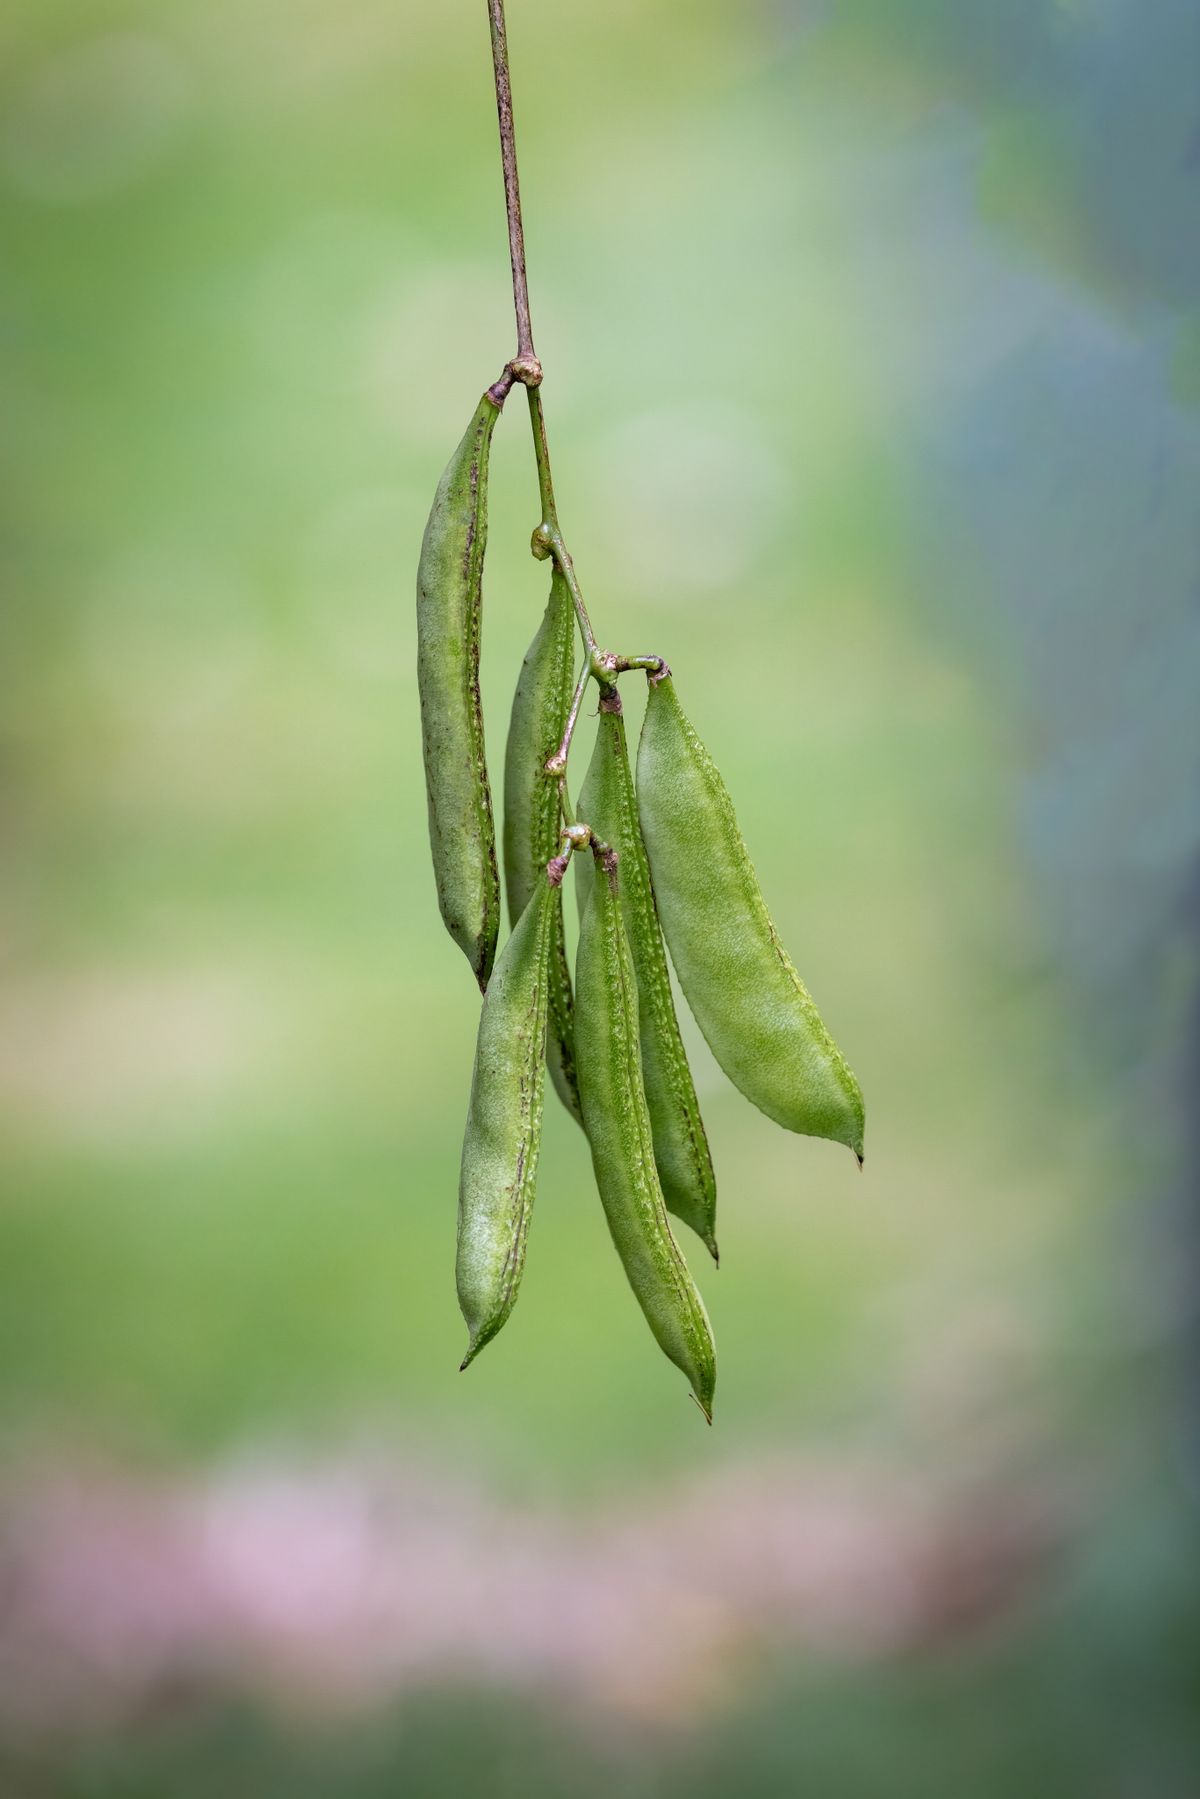
A snap pea pod is ready when it is swollen enough to crunch, while its sides still look bright and feel tender. A few days on the vine can turn that pod fibrous. The harvest can be so quick that the next row starts producing just as the first has lost its sweetness. Planning the sowing and the support together makes it easier to catch pods at the right moment.
Snap peas are eaten with their pods once the peas inside have started to fill. Snow peas are usually picked earlier while their pods are flat, and shelling peas are grown for the seeds inside. The crop you bought determines when to pick. Read the packet while you can still match the name to the plants, especially if two kinds are going into adjoining rows.
Read your spring from the ground up
Peas prefer cool growing conditions. In many temperate gardens you can sow them several weeks before the last expected spring frost, when the soil is workable. Workable soil crumbles when gently pressed. If a handful holds together like putty and a footprint fills with water, wait. Seeds in a cold, soggy row can rot before they have a chance to grow, and walking on wet soil can leave a compacted path beside the bed.
A thermometer can help if the bed is slow to warm, but the type of soil and its moisture matter too. An open raised bed may drain and warm sooner than a low spot even if they are next to each other. Sow the first small batch in the better drained strip. Reserve seed to repeat the sowing a week or two later if the initial row is patchy or you want to stretch the harvest. Two planting dates can spread the crop in a mild spring. Both rows may flower close together if the later sowing meets much warmer conditions.
In hot regions, the useful pea season may be autumn or winter. Pick a period when daytime temperatures are usually mild and a developing crop can get enough light. In a cold winter climate, a fall sowing has to mature before hard frost and very short days. Work backward from local seasonal conditions, leaving more time than the packet lists because cooling weather slows growth. If the fall window looks short, save the bulk of the seed for spring and try just a small row.
Put up the support while the row is empty
Check the expected height of your variety. A short variety may lean comfortably into a few feet of twiggy branches or a low fence. Tall types can need a structure six feet high or more. Use a material the thin tendrils can grip, with openings broad enough to reach through. A smooth pole on its own is usually harder for a pea to climb than a mesh or a twiggy frame. Set the first gripping surface close to the ground so the young plant can find it.
Brace a long fence at the ends and tension any loose netting. A row heavy with pods can flop to one side in wind. A frame that tilts into the path makes the outer pods hard to pick and the far side almost impossible. Leave space to walk where you will harvest, and consider placing taller varieties where their shade will be useful later. A short line of lettuce may appreciate some shade as spring gets warmer.
Sow directly into loose soil, following the packet spacing and depth. Around an inch deep and roughly one to two inches apart is common, with adjustments for seed size and soil conditions. Close the furrow gently and water if the soil needs it. Mark both ends so you can see where the row starts. Birds and other animals may take exposed seed or pull up new shoots. A secured light cover can help, but remove it before stems need to climb and avoid trapping wildlife in loose netting.
Follow what the young plants are doing
Check for seedlings along the whole row. A gap at one end might mean that water pooled there or the seed was covered more deeply. Dig carefully to look for one seed. A soft, discolored seed suggests rot. A completely empty hole can mean an animal carried the seed away, though it can also mean you missed the spot at sowing. A firm seed with a growing root may just need time. Fill gaps promptly if you can correct the cause and there is still cool growing weather ahead.
Peas work with soil bacteria that can fix nitrogen in nodules on the roots. That relationship depends on appropriate bacteria being present. In soil where peas and related crops have grown well before, additional inoculant may be unnecessary. If using a purchased product, choose one labeled for peas and follow its directions. Heavy nitrogen fertilizer is a poor default because it can produce vigorous foliage without improving the pod harvest. A soil test is a better guide when the bed has a history of weak growth.
Weed with shallow strokes or pull small weeds by hand. Pea roots sit close enough to the surface to be injured by deep cultivation. When the stems start to bend, guide a few toward the mesh and let the tendrils take hold. Avoid making tight bundles with string. They shade one another and become harder to pick. Do a second walk along the row after a windy night to lift branches that have fallen away from the support.
Protect flowering and pod fill
Maintain moisture while plants are flowering and pods are forming. Feel below the surface, especially under a canopy that can shed a light rain to the edges. Water near the roots and let the bed drain. A light mulch after emergence can keep the root zone cooler and reduce splashing. Keep mulch away from stems and watch for slugs where the soil stays damp.
Pea flowers usually pollinate themselves. When a row has a great many blooms and very few pods, look for weather stress and plant injury before assuming you need more insects. A hot spell can shorten flowering and pod production. Cold snaps can injure blooms too. Look at whether the loss coincided with one event or whether the vines have been declining for longer. A wilted patch next to sound plants can indicate a root or drainage problem. If the symptoms spread, take photographs and ask a local gardening service for help.
Inspect the upper growing points and the undersides of leaves for aphids, especially if you notice curled tips or sticky residue. A small colony may be held in check by predators. Check several plants to judge whether numbers are rising. You can dislodge some colonies with a gentle stream of water if the trellis is sturdy and the weather allows the foliage to dry. Avoid crushing stems while trying to open the canopy to look.
Pick where your fingers can reach
Carry a shallow basket or use two small containers on a long row. A deep bucket tends to hide the pods at the bottom, where they can get crushed as you add more. Put pods with visible insect damage or splitting in a separate container for sorting indoors. If you are comparing varieties, keep the harvests separate for the first picking and taste them at the same stage of fill before deciding which one you want to grow again.
Hold the vine with one hand and snap or cut the pod free with the other. Pulling against an unsupported stem can tear off a whole section of the plant. Pick every day or two when production is heavy. Turn around at the end of the row and look from the reverse side. Pods often hang in the leaf shadow and show up from only one angle. Low pods close to the ground are easy to miss if you always look at eye level.
Try one pod from the first flush when it is still slim and another once the peas inside have filled a little more. The better texture gives you a useful size reference for that cultivar. Snap peas with a developed seam string may need trimming before cooking. If a few pods get past their prime, shell them and see whether the peas are still tender. Remove mature pods from the plant if you want to encourage any remaining flowers to develop. Cool the harvest promptly and rinse just before use.
Check the lower pods before walking away from the trellis. They often mature in the shade of the upper leaves and are easy to miss while looking straight ahead. One missed pod is not a disaster, but a handful of very old pods is a useful reminder to change where you look.
When the vines start to yellow after harvest and warm days settle in, cut them at ground level or pull them if you need to inspect unhealthy roots. Dispose of diseased material as recommended locally. Pull the stems off the support in short sections to avoid tangling it. If the garden had healthy plants and a short harvest, start earlier next time or choose a quicker variety. If the pods were fine but you missed half of them, widen the path. A pea row you can reach easily is a row you will pick often enough to catch at its best.
Back to top