7 min read
Growing Bush Beans in Short Rows
Sow bush beans in warm ground and stagger the rows so the pods arrive when you can pick them.
On this page
Bush beans can make a whole dinner from a row that looked too short to be worth planting. They can also produce a bucket of pods on the one weekend you are away. Their compact habit makes them easy to place, but the crop tends to come in a concentrated flush. To keep picking over several weeks, give each sowing its own row and its own date.
Decide what you want to pick before buying seed. Green snap beans are the familiar choice, with yellow wax and purple pods available in the same general style. Some bush beans are grown for fresh shelling or for dry seed, which stay on the plant considerably longer. A packet should tell you how the crop is intended to be used. Choose a snap bean for repeated harvests of young, whole pods.
Wait for the soil to warm
Beans do poorly in cold, wet ground. A pale day just after the last frost is a good time to prepare the bed and a poor reason to sow if the ground remains cold. Check the seed packet for its recommended conditions. As a practical guide, many snap beans germinate better in ground above about 60°F, or 16°C. Put a soil thermometer where the seed will actually sit. A sunny surface can feel warm while the inch below it stays cool and wet.
Choose a sunny area with good drainage. Beans grow best with several hours of direct sun and enough room to inspect and pick without trampling the plants. Avoid the low corner of a bed where rain stands. A narrow raised bed or row can warm earlier. If possible, rotate the crop away from the previous year's beans, especially if you had a recurring disease. Clear any old bean debris that still shows symptoms.
A soil test is useful if fertility is uncertain. Beans can work with compatible soil bacteria to fix nitrogen, and extra nitrogen is usually unnecessary where the soil is suitable. High rates can favor lush foliage at the expense of pods. Improve a very poor bed before planting according to local recommendations. There is no need to add a rich handful of fertilizer in each planting hole.
Set up your first sowing as a trial
Mark a row you can reach from one side. Read the spacing instructions for your cultivar, commonly a few inches between seeds and around an inch deep. Allow enough distance between rows for the canopy to expand and for the leaves to dry after rain. In a small bed, two short rows with a path or open edge can be easier to use than a wide block. A long continuous row is fine if you can reach it all without stepping on the growing soil.
Sow into moist, loose ground. Cover gently and use a light watering if the soil needs it. Soaking the beans before planting is unnecessary. In a wet bed, heavily soaked seed can be more vulnerable to decay or damage. Some seed coats are quite thin. Handle them gently and set aside any beans that are moldy or badly cracked.
Label the sowing with the variety and date. Keep a second planting area clear until the first row is up and healthy. An interval of roughly two weeks works in many gardens, with adjustments for your climate and the variety's growing speed. If a later sowing experiences much warmer weather, it can close the gap. The first season is a chance to learn the intervals that actually spread your harvest. Keep the last sowing early enough to mature before frost, adding time if it will grow through cooler weeks.
Look closely when the row comes up
A bean seedling raises its cotyledons, the thick first seed leaves, above the soil. They may have ragged edges from pushing through the surface. Look for healthy leaves above them before assuming a damaged cotyledon will kill the plant. If entire rows emerge sparsely, uncover a single empty spot with a trowel. Soft seed suggests the soil was too wet or cold. If the seed is gone, check for disturbed soil or other signs of animals. A firm seed with a growing root may just be slower than its neighbors.
If you must fill a gap, do it before the surrounding plants become large enough to shade the newcomer. A patch of late replacements can be difficult to pick because its pods stay small long after neighboring plants have finished. In a very uneven row, you may prefer to use a separate small strip for the next sowing. This also makes it easier to see whether adjusting the soil or depth improved emergence.
Weed before the canopy closes. Use a hoe shallowly and avoid cutting roots. Mulch can help with weeds and moisture after the soil has warmed and the seedlings are established. Check for slugs if you mulch a cool site. Short support can be helpful on a windy plot or for a variety that leans under its crop. A low string along the outer edge may keep plants out of the path without hiding the pods.
Take care of the row while pods develop
Water at the base when the root zone needs it. Flowering and pod fill are poor times for the soil to stay dry. A light shower that wets the leaves may do little for the roots below a dense canopy. Push a finger through the surface or lift a little soil with a trowel to check. Wet leaves can spread some diseases during handling, so wait for the row to dry before you work through it if you can.
Beans often pollinate themselves. If flowers drop during a spell of sustained heat, check for fresh blooms after conditions improve. Also check water and signs of pests. Holes scattered across the leaves can come from several different insects. Some chewing is tolerable on an established plant with plenty of healthy leaf area. If the damage is increasing, look under the leaves and identify the insect rather than treating every row on sight.
Rust colored pustules, angular brown spots, and yellow leaves can point to different problems. Take photographs in good light and ask a local gardening resource about recurring symptoms. If you buy resistant varieties next season, select resistance to the problem you actually had. Choose disease free seed from a reputable supplier and avoid saving seed from plants with suspected seed carried disease.
Learn where the young pods hide
Pick a trial handful once the earliest pods reach eating size. Look for a difference between the pods tucked deep in the canopy and the ones on an outer branch. The first group can be easy to miss and sometimes stays wet longer after rain. If you consistently find damaged pods low down, check whether the branches are lying against the ground. A short stake or a little more room between rows can make the next planting easier to inspect.
As the plants stop flowering, decide whether to keep waiting or clear the bed. A patch with new flowers and healthy foliage may offer another light harvest if temperatures are still mild. A row with no fresh flowers and a great deal of old, tough fruit can free up useful space for an autumn crop. Pull one plant to inspect the roots if the row declined in patches, and make a note before it becomes hard to remember where the trouble started.
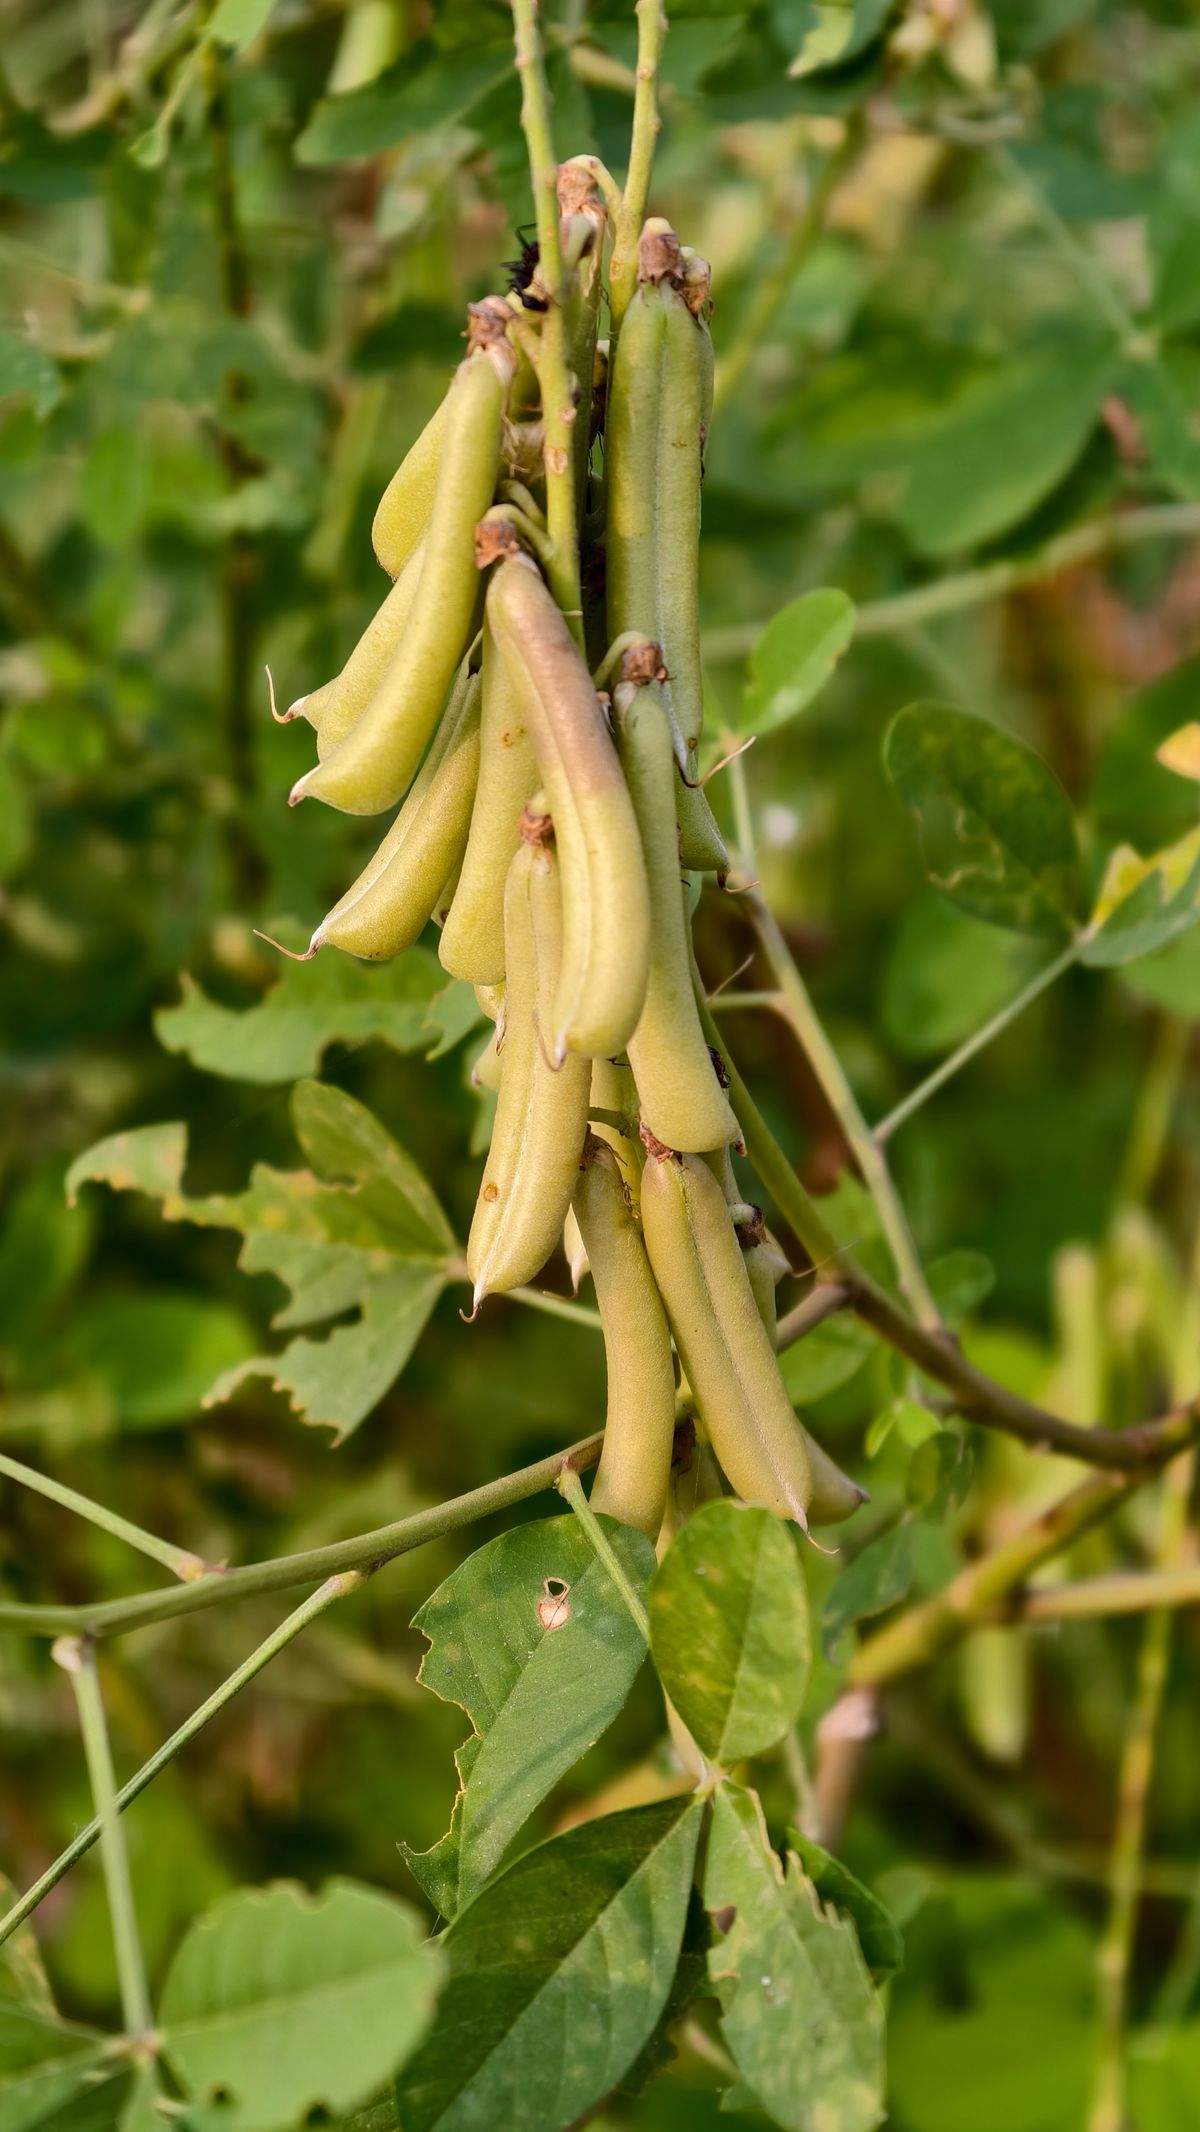
Start looking for pods under the canopy soon after flowering. Snap beans are often best when the pods reach the cultivar's expected length but the seeds inside have not become prominent. Bend a sample pod or cut it to check how fibrous it feels. Some heirloom types have a string even when young. A cultivar described as stringless may still get tough if you let pods get oversized.
Hold the branch with one hand while clipping or snapping the pod free with the other. Bean branches are brittle when you tug against them. Check the row every few days during peak growth. Look low and from the other side before deciding the row is finished. Green pods can almost disappear against the stems. A yellow or purple variety may be quicker to harvest for that reason. Purple beans commonly lose their purple color when cooked, so choose them for garden visibility as much as appearance on the plate.
Label consecutive sowings with the sowing date and variety. When the first flush slows, compare it to the younger row instead of guessing from the size of the leaves. A young row with plenty of open flowers can take over without your spending another week picking a handful of oversized pods from the old one.
Chill the pods soon after picking and wash before use. If the harvest is larger than expected, sort the pods by tenderness so you can use each group appropriately. Overgrown pods may have developed too much fiber to eat whole. Remove those from plants when you see them to keep the picking area clear and avoid leaving all the remaining pods to mature into seed. At the end of the flush, check the next row. If it is already overloaded, shorten the rows or increase the sowing interval next season. If there was a long gap, try bringing the second date a little closer to the first.
Back to top