7 min read
Growing Oregano for the Kitchen
Choose an oregano with a flavor you like, keep its roots well drained, and cut green shoots for fresh use or drying.
On this page
Oregano can live in a corner for years and still give you little worth drying if the variety has a mild scent or the stems spend the season in shade. The first decision is made at the nursery. Read the label and smell a leaf, if permitted. The second is made when you decide where the plant will get sun without sitting in damp ground. Those choices matter more than shaping it into a neat mound.
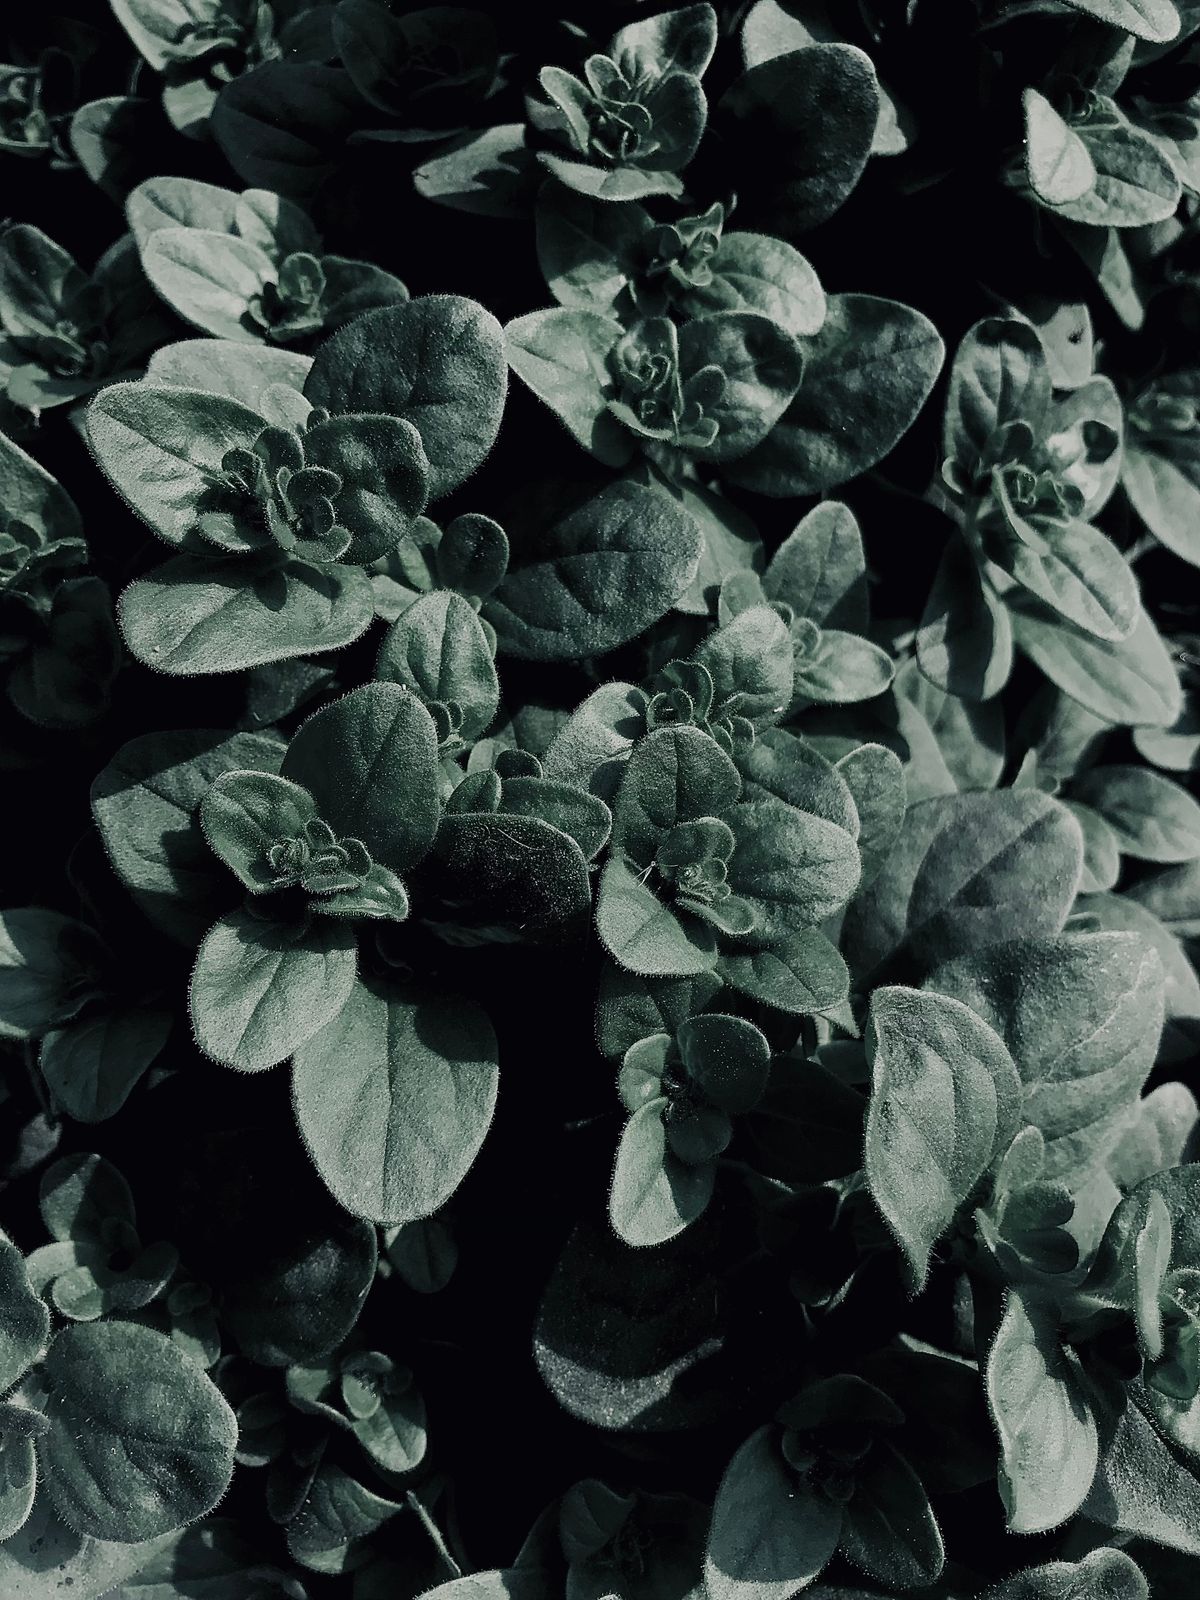
Culinary plants sold as oregano include more than one kind. Greek oregano is often sold for a strong savory flavor. Common oregano can be milder, and leaf color or flower color alone does not tell you how it will taste. Golden forms may be selected for ornamental foliage. Mexican oregano comes from a different plant group and has its own flavor and growing needs. For the familiar Mediterranean herb, choose a clearly labeled culinary variety and keep the tag.
Find the place where the stems can dry
Plant Mediterranean oregano in a sunny position with well drained soil. Check the bed after a steady rain. A slope or the edge of a raised bed may drain before a low corner beside it. Give the plant space to spread and enough air for leaves to dry after a shower. In very hot conditions, a little afternoon shelter may help, especially in a small pot. Too much shade usually leads to long stems and a thinner harvest.
A container can work where garden soil stays wet. Use one with open drainage holes and choose a loose mix made for containers. A little coarse material such as perlite or pumice can help if your mix stays dense and wet. Do not fill a pot with garden soil that packs down. Set the crown about where it was in the nursery and water to settle the root ball. Let the pot drain before returning it to a saucer.
Set the pot where you can cut from several sides. A long branch that presses into another herb will be easy to forget until it becomes bare in the center. Leave a gap around the pot if you want to see how far the plant spreads. In a bed, check whether stems root where they touch the soil. Cut and remove unwanted rooted branches early while the original crown is easy to identify.
Establish roots before cutting heavily
Water a young transplant while the roots are settling. Feel the mix below the surface so you know whether water is needed. Once established, allow the upper mix to dry somewhat between thorough waterings. A pot sheltered by a roof may miss most rain. A pot in a wet corner may need no extra water after a shower. If an older plant suddenly wilts, feel the soil before reaching for the can. Wet roots and dry roots can both produce limp foliage.
Moderate fertility suits the crop. In a container, take any fertilizer already present in the mix into account before feeding. Follow directions for a suitable product if the plant needs it. A heavy dose of nitrogen can make a soft plant with long stems. Weak light can do the same, so check where sunlight actually falls during the day. Compare the leaves that grew before and after moving the pot. The change in new growth is easier to judge than the angle of old stems.
If you want to propagate a variety you like, take a small piece from healthy growth. A stem that has rooted where it touches soil can sometimes be detached and potted. You can also take a green, nonflowering tip and root it in clean moist mix, keeping the lower leaves off the buried part. A seed grown plant can be rewarding, but seedlings may vary. A rooted piece is a better way to keep the aroma of one particular plant.
Clip leafy stems at their most useful stage
When planning a drying harvest, compare stems from the sunny side with a few from the shadier side. The young leaves may look equally healthy and have noticeably different aroma. Label two small batches and dry them under the same conditions. Rub a few leaves between your fingers once both are dry, then compare them in a cooked dish. A test that uses only a handful of stems can show you which part of the plant is worth harvesting heavily. If the sunny side always does better, check whether an adjacent plant could be moved or a container shifted a little toward the light.
Use clean scissors to cut just above a leafy junction. Leave green growth on the branch so it can recover. A handful of young stems from several parts of the mound is better for the plant than shearing all the foliage from one side. Young tips are useful fresh. Older stems often become firmer and may be easier to use by stripping off the leaves. Taste a leaf from the part you plan to harvest, especially if you are comparing two cultivars.
For drying, try a small batch when the plant is full and some flower buds are just forming. Choose a dry day and wait until dew has dried. Inspect stems for insects and damaged leaves. Bundle a few stems loosely or lay them in a thin layer on a clean screen. Keep them in a ventilated place away from direct sun. If the room is humid, spread the stems farther apart and check them regularly. Store leaves only when thoroughly dry and discard any that develop mold.
Strip dried leaves from the stems and put them in a clean, labeled jar. Keep the jar away from heat, moisture, and strong light. Crumble the leaves shortly before cooking to keep their aroma concentrated until you need it. A tiny label with the harvest date and variety lets you compare two batches later. If a jar loses its scent quickly, look at both the storage conditions and the quality of the original leaf before changing your growing methods.
Leave enough foliage for the next round
Inspect the base of the plant after hard rain or prolonged damp weather. Leaves at the soil line can remain wet long after the tips have dried. Move fallen leaves out of the crown and check whether the surrounding mix still drains. An oregano that has lodged against paving may be rooting at several points along a stem. Lift and inspect a branch before cutting it free. If it has roots and good green tips, pot up that piece while conditions are mild. If the branch is soft and discolored, remove it and look for healthy growth elsewhere rather than moving it to a second pot.
Oregano can flower over an extended period, and the flowers can bring bees and other insects to the bed. Leave several stems if you want to watch those visits. Use the greener parts for the kitchen. Once the flower stems are finished, trim them to a living junction if you want to tidy the plant. Avoid cutting a woody old mound to bare stems all at once. Shorten part of it, see where new growth appears, and decide whether the rest is worth renewing.
If the center has become open and unproductive, lift and divide a healthy plant in a suitable mild period. Keep vigorous sections with roots and green shoots. Replant them in fresh soil or potting mix and wait until new leaves appear before harvesting heavily. In a cold climate, protect container roots as local conditions require. A plant that overwinters successfully in the ground can be more exposed in a pot. In a mild rainy climate, the biggest winter problem may be poor drainage.
Keep a record you can use in the kitchen
Keep a small jar for each drying date until you know how much oregano you use. A harvest clipped in midsummer can be compared directly with a lighter autumn cut without mixing the flavors. If the jar you use most is empty before spring growth resumes, plan one extra cut next season while the plant is still vigorous.
Try fresh and dried leaves from the same plant in separate portions of a familiar dish. Use less dried oregano to begin, since drying concentrates the flavor by removing water. Record which variety gave you a flavor you want to use again and whether you preferred leaves taken before flowers opened or later. One good plant often supplies the amount a household uses. A second one earns its space if it has a different flavor or lets you harvest while the other plant is recovering.
Label a new plant before putting it next to other low growing herbs. Once the stems touch, it is easy to cut the wrong shoot or forget which plant had the strongest flavor. A small record of the variety and harvest date is useful if you dry several batches.
Look at the size and age of the stems when you reach for the scissors next season. If most of the useful shoots are on one side, move the pot into a more even exposure or rotate it periodically. If the whole plant has declined and the root ball stays wet, correct drainage before replacing it. If the plant is healthy but you never use it, keep a smaller one. A few clear decisions about light, flavor, and the way you cook make oregano a more useful part of the garden.
Back to top