7 min read
Growing Dill for Leaves and Seeds
Give dill room for its taproot and use separate sowings for soft leaves, flowering heads, and mature seed.
On this page
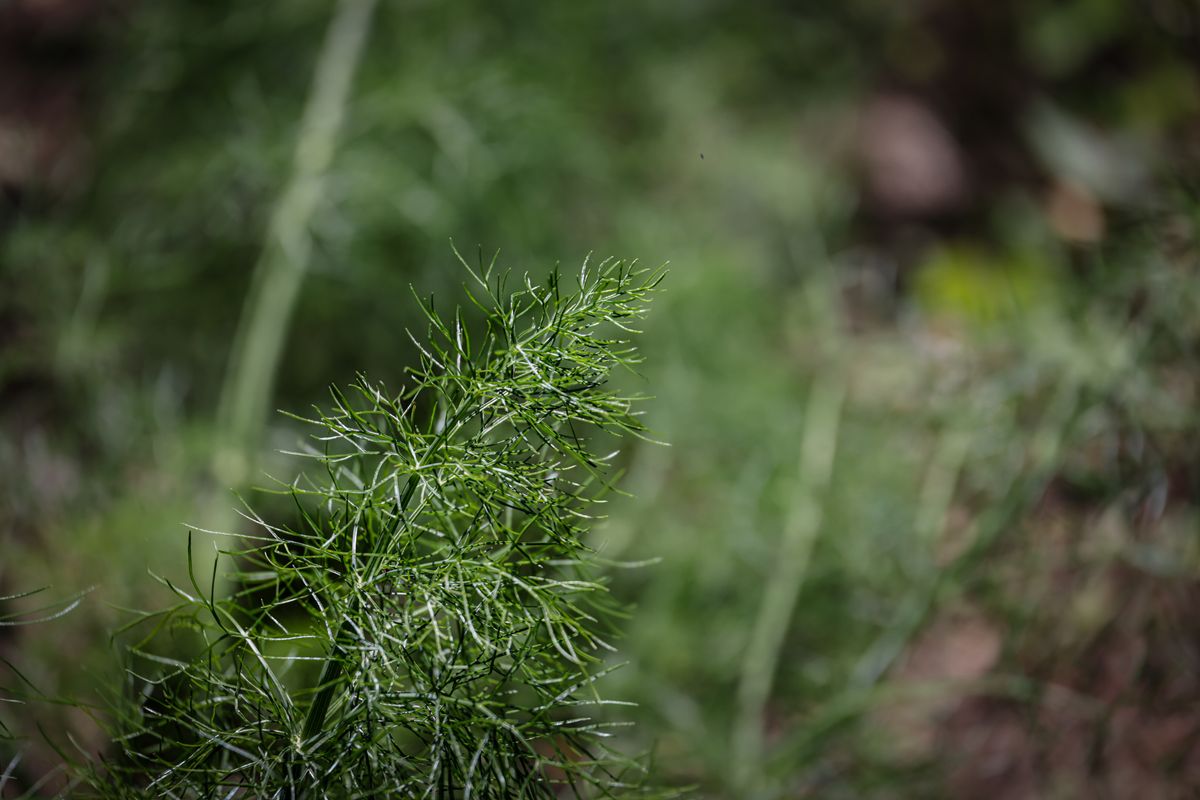
Dill changes so much as it grows that the stage you want is worth planning before you sow. A short plant has soft leaves for a salad or a handful of potatoes. Later, a tall stalk carries flat yellow flower heads. The flowers give way to dry seeds with a different use in the kitchen. A row you cut heavily for leaves may never give you the heads you wanted. Give each crop a few plants of its own.
Look at the height on the packet. Tall types can carry their flower heads high enough to catch the wind. Compact cultivars are easier to manage in a container and may suit a crop grown mostly for leaves. Some varieties are selected to hold their leafy stage a little longer. Choose height and timing before you choose a pot or a place in the bed. A tall dill in a shallow container can make plenty of leaf growth and still fall over at the first storm.
Sow where the root will stay
Choose a sunny spot with loose, well drained soil. Dill forms a taproot and usually does well when sown directly. In a container, choose a deeper pot with clear drainage holes and a stable base. If you start indoors to gain a little time, use individual deep cells and move young plants carefully with the root balls intact. A seedling that has wound its root around a small cell is harder to move without slowing it down.
Make a shallow furrow and sow according to the packet, often with around a quarter inch of cover. Water gently so the seed stays in place. Keep the top layer moist while the seedlings come up. Mark the row with the variety and date. Dill leaves are distinct once they develop, but small seedlings are easily lost in a weedy bed. Avoid cultivating right beside the row until you can see exactly where the plants are.
Thin after the first true leaves appear. Plants intended for heads need enough space for strong stems and branches. Follow the variety guidance, leaving room to reach around each plant. A closer group can be harvested young for leaves, but a permanently crowded row tends to lean and may dry slowly after rain. If you sow two varieties, keep them in separate rows until you know which one matures first.
Make a leaf row and a seed row
Mark a spare spot for an early trial if your spring is unpredictable. Sow a few seeds there before the main planting and check how the soil responds to rain and cold. When the trial emerges, leave a second label with the emergence date. If the first row germinates unevenly, compare a shallow section with a deeper one or check whether one end held standing water. Repeating the trial in a small container can be easier than changing the whole bed. The resulting handful of leaves is useful even when the trial row is too small to supply a full harvest.
Sow a small fresh strip every two or three weeks while the conditions are suitable for growth. Dill often goes to flower quickly in heat. A modest sowing timed for mild weather can give more usable leaves than a large row that bolts all at once. When very hot weather arrives, shift the next sowing to a spot with some afternoon protection or wait for the season to cool. Check which option worked by comparing actual leaf harvests.
Keep one group aside for flower heads and seed. It can grow behind a shorter crop if it will receive enough light and you can reach it with shears. In an open bed, set a stake while the plants are small. A loose tie supports the stem without constricting it. Leave enough slack to accommodate growth and wind movement. A row sheltered from the strongest gusts may need no support until the heads begin to develop.
Do not feed heavily simply because the plants are tall. Rich soil can encourage soft stems, especially when light is weak. Use a soil test or a suitable container fertilizer according to need. Water deeply when the root zone begins to dry and check that the plant is not standing in water. In a pot, let excess drain. A plant carrying a large flower head can pull moisture from a small container quickly on a bright day.
Cut soft leaves without taking the whole stalk
Take a few tender leafy stems from several established plants, using clean scissors. Leave enough foliage and an active growing point for continued growth. If you need a large bunch, harvest a short dedicated patch rather than stripping every plant you want for seed. The older stems can become firmer as flowering approaches. Taste the leaves at several stages so you can choose a useful cutting size for that cultivar.
Pick after dew has dried if you plan to dry the leaves. Separate damaged stems and spread the healthy dill in a thin layer with good air circulation. The delicate leaves often keep their flavor better for some uses when frozen instead. Chop clean dry leaves into small portions or freeze sprigs for later cooking. Label them with the date. If you only need a fresh garnish, take the smallest amount the plant can spare and wash it shortly before use.
Examine a weak plant before cutting more from it. Aphids can gather on tender stems and flower clusters. A small colony may have predators nearby, so look closely and monitor before doing much. Dill also hosts some swallowtail caterpillars. If you recognize one and want to leave it, reserve that plant and pick from another. A few extra plants make it easier to share the foliage without losing your main harvest.
Take the flower heads at the stage the recipe calls for
Leave room beside mature plants for the basket or bag you will hold under the heads. It is surprisingly easy to brush a second plant while trying to cut the first. Harvest on a calm, dry day if you can. Dry seed can loosen quickly in wind, while damp heads may mold during drying if they are crowded in a bag. Label each bundle at harvest if you want to compare a compact variety with a tall one. Check the first bundle after a few days and separate any damp stems from the rest. A clean shallow tray beneath the drying heads will catch loose seed and make it easier to inspect the collection.
Reserve enough healthy plants to compare the flavor of the fresh heads and the mature seed. Their uses differ, and tasting from the same planting makes the change easy to recognize.
For fresh heads, look at the recipe and the condition of the flowers. A fully open head brings fresh floral and leaf flavor. A green head with developing seeds gives a different flavor and texture. Clip the stem below the head and handle it gently so it stays intact. Leave some flowers on healthy plants if you want to observe visiting insects or collect dry seed later.
Where stems tend to bend, add a loose tie before the head becomes heavy. You can sometimes move a younger plant into a more sheltered position if it is in a pot, but a tall plant with a broad top needs a stable base before you pick it up. If the stem has already broken, cut it cleanly. Check the rest of the row to see whether a wind gust damaged several stems at the same height.
For dry seed, wait until the flat seeds begin turning brown and the heads are drying. Work over a paper bag so loose seed falls into it. Cut mature heads first and leave greener ones for a later visit. Put the bag or spread the heads in a dry, airy place out of strong sunlight. Avoid sealing green material in a jar. When the seed separates readily and is fully dry, clean away stems and store it in a labeled container. If you plan to replant, save seed only from healthy plants and make a small germination test next season.
Make room for the stage you use most
At the end of the year, count the plants you picked for leaves and the number of seed heads you used. One mature plant can give more seed than you want, while a single sowing of leaves can be gone in two meals. Let that difference shape the next planting. Keep the seed plants in a place you can reach to collect heads without shaking them over the whole bed. If you welcome volunteers, leave one head and mark where it stood. Otherwise, collect the heads before the seed scatters.
When sowing for leaves, label the newest patch so you do not accidentally thin it by harvesting. Use an older row for the kitchen while the young plants establish. If only one plant needs to flower for seed, give that plant room and keep the rest in the leaf rotation.
Compare the actual picking dates with the sowing dates on the labels. A fast flowering planting may still have been useful for heads even if it disappointed you as a leaf crop. A cooler location, an earlier date, or a more compact variety can change the next leaf harvest. Make one adjustment at a time so you can tell what gave you more days of tender dill.
Back to top