7 min read
Growing Chives from a Clump
Split a healthy plant into small divisions and learn to clip leaves without exhausting the crown.
On this page
A clump of chives can look like a single plant until you lift it. Beneath the thin hollow leaves is a close group of little bulbs and roots. An old clump can be divided, giving you one plant for a pot, one for the border, and perhaps one to share. Each piece needs enough healthy roots and leaves to grow again. You can keep the biggest portion for cutting and let the smaller one build up before asking it to supply the kitchen.
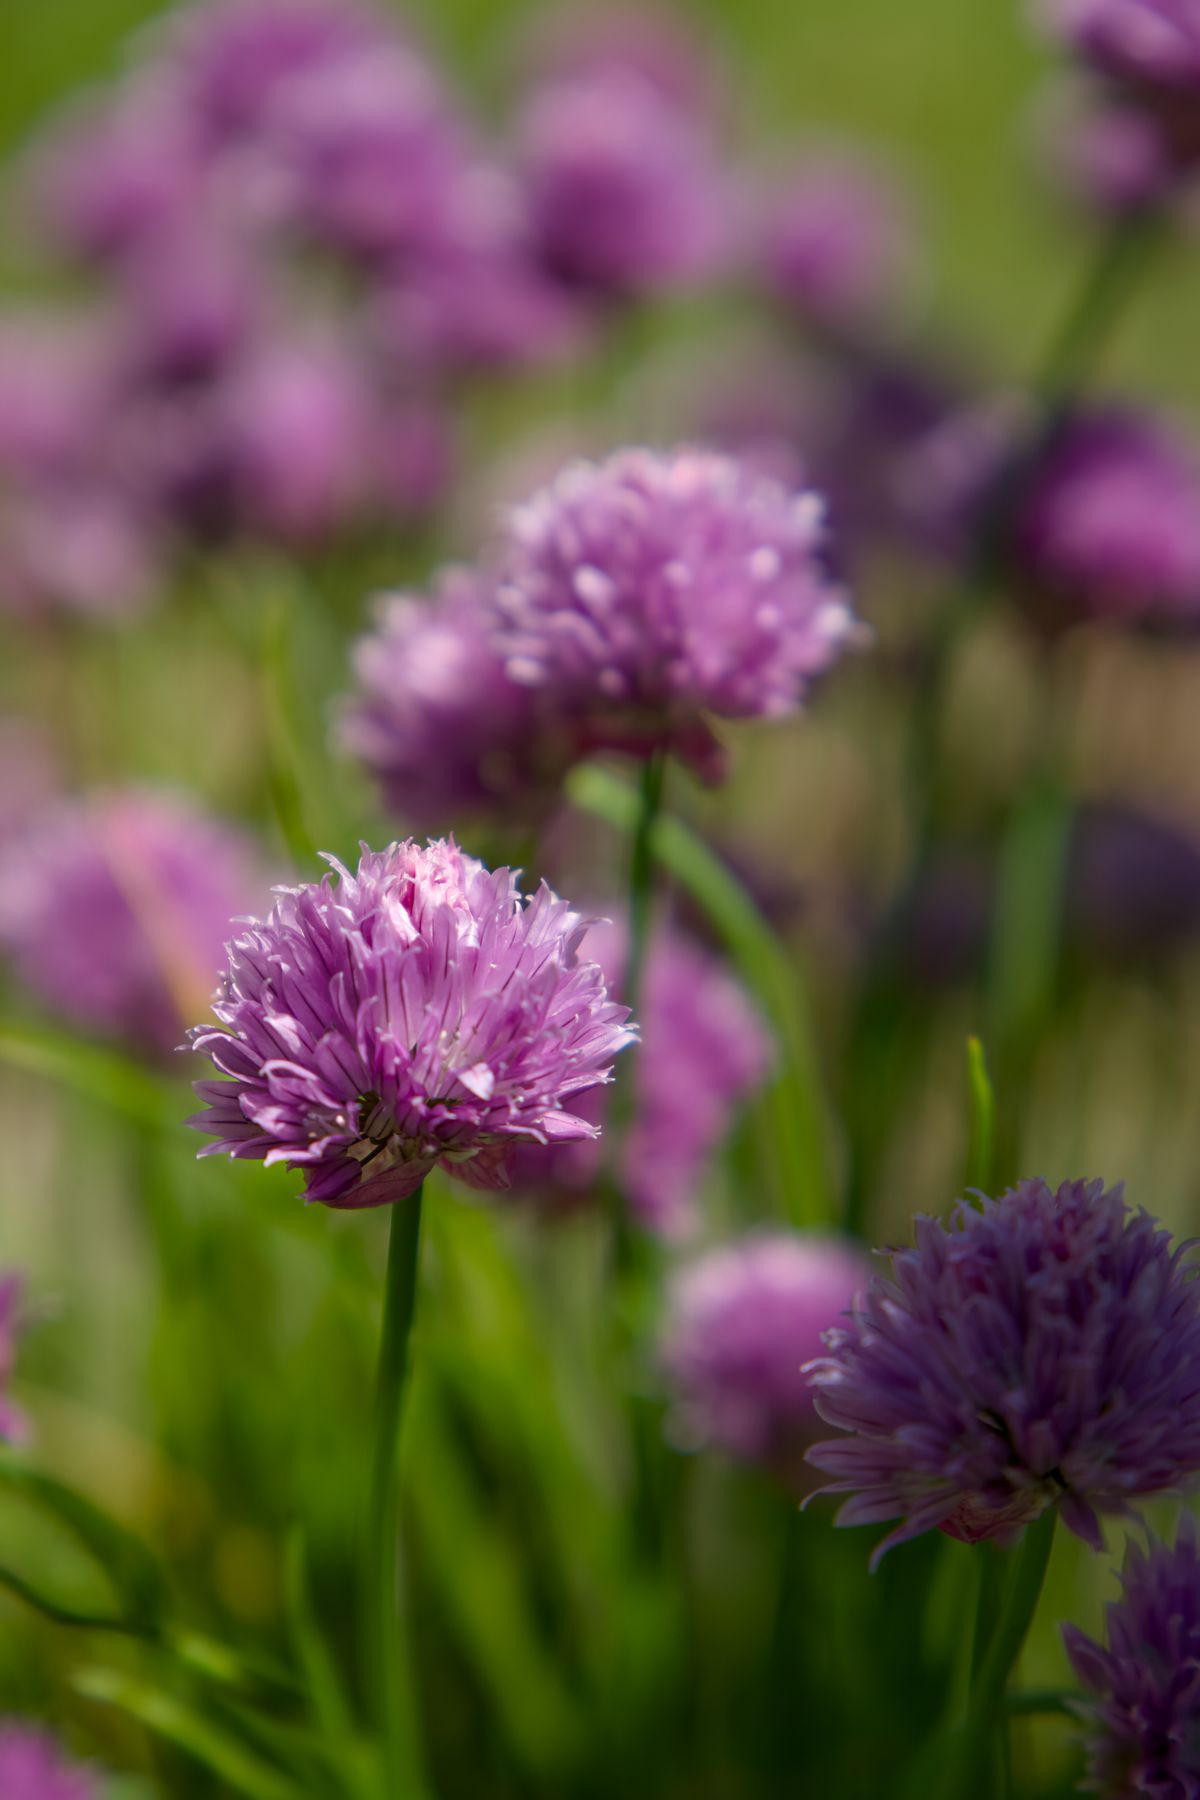
Check which chives you have. Common chives have tubular leaves and usually make rounded pink or purple flower heads. Garlic chives have flatter leaves and often flower white later in the season. They taste different and can spread differently, especially if flowers are left to seed. Both are useful if you know what you are growing. If the plant came from an unlabeled garden, ask the person who grew it or use a nursery plant with a clear label before treating it as an edible herb.
Choose a clump with fresh growth near its edges
A good parent plant has firm roots and shoots that are green at the base. A sparse brown middle surrounded by vigorous outer shoots can be a normal sign that the clump has become crowded. Dark soft tissue, a bad smell, or decline that has spread across the whole plant calls for closer inspection. Divide only healthy portions. Moving a plant with an unidentified disease can create the same problem in several new spots.
Early spring is a convenient time, once the soil can be worked and new leaves make the clump easy to see. Another mild part of the growing season can work if the roots have time to settle before severe heat or cold. In a hot region, choose a cooler spell. Water a dry bed a day ahead of lifting so the soil loosens without pulling too hard on the roots. Wait until very wet soil drains enough to work without smearing or squeezing the structure out of it.
Plan where each piece will go before you lift the parent. A sunny bed is a reliable choice in many climates. Some afternoon shade can be useful where summers are hot. Give each division enough room to grow into a clump you can reach with scissors. Leave space along a walkway so a mature plant does not get stepped on when its leaves arch outward.
Divide and reset the roots promptly
Use a fork or small spade to loosen soil several inches from the edge. Work around the clump before lifting from underneath. Slide a potted plant out while the mix is just moist enough to hold together. Shake loose some soil so you can see the bases of the shoots. Pull apart portions that separate naturally. If the root mass is too dense, cut through it with a clean, sharp tool. A division with several shoots and a good share of roots usually recovers more quickly than an isolated tiny bulb.
Trim away clearly dead material and keep the live roots from drying while you work. A damp cloth over the divisions is useful during a short delay. Plant each piece at about the original depth, with the leaf bases near the surface rather than buried under a mound. Fill around the roots and water thoroughly. Mark the position if the clump is small enough to get lost among neighboring plants. Keep freshly divided plants evenly moist while they settle, without letting the bed remain saturated.
For containers, use a pot with open drainage holes and loose potting mix. A small division does not need a huge pot. Leave enough room for it to spread without surrounding it with a large mass of wet mix. When the foliage is full again, check whether the pot dries too quickly and move it up one size if needed. If you divide a vigorous parent into many pieces, keep one large section in the original pot for earlier harvest.
Find a steady watering rhythm
Once the plant resumes growth, water when the root zone begins to dry. Chives have fairly shallow roots and can dry quickly in a small pot, especially when the leaves are actively growing. Give the pot a thorough watering and let it drain. Clear the saucer after watering if necessary. In a bed, keep weeds away from the base so the roots do not have to share a small supply of water and you can see the leaves clearly at harvest.
Growth in a bright spot is usually sturdier than growth in a dark kitchen. If you keep a pot indoors, check the window's light and look for long, soft leaves that fall sideways. A grow light may help when winter daylight is weak. An outdoor plant moved indoors may also slow down as light and temperature change. Use the leaves it can spare and hold off on repeated heavy harvests until it resumes growth.
If the mix already includes fertilizer, give it time to support the plant. A modest feed may be useful in an exhausted pot during active growth, following the product directions. Small leaves can come from crowding, dry roots, or weak light as easily as a shortage of nutrients. Check those conditions before increasing fertilizer. When the pot has nearly filled with roots again, division and fresh mix give the crown room to expand.
Cut leaves near the base with clean scissors
If the leaves keep getting thinner, try cutting one half of an established clump and leave the other half undisturbed for comparison. Watch the new tips over the next few weeks. If the cut half rebounds and the other side stays sturdy, the clump probably has enough resources to handle a larger harvest in that season. If both sides make short pale leaves, look for a shared problem such as shade or crowded roots. Check for a difference between the side against the wall and the side facing the sun. Moving the whole pot a little farther from the wall can make a bigger difference than clipping off every old leaf. Give new divisions a separate check. Their slower regrowth may be a normal part of establishing roots.
Hold a few healthy leaves and cut them a short distance above the soil. Leave some green foliage on each new division, especially during its first weeks. Rotate across the clump if you only need a pinch. Cutting the upper halves of a whole bunch leaves many blunt old ends that have little value for the next meal. Taking selected leaves from near the base keeps the young center visible.
Pick flower stalks separately from the tubular leaves. They can be tougher as they mature. Common chive blossoms can be used in food when the plant is correctly identified, clean, and grown without unsuitable sprays. They can also remain on the plant for visiting insects. Remove fading flower heads before they scatter seed if you want to keep seedlings out of the path. This is especially useful where garlic chives self sow freely.
Wash leaves before chopping them. A quick inspection at harvest makes it easy to remove damaged ends and see whether the clump has a pest problem. Yellowing tips after a dry spell can be a water issue. Rust colored patches or discoloration spreading to fresh leaves deserve a closer look. Avoid using a division from a plant that repeatedly shows unexplained decline. Keep a photograph and check with local gardening advice if you need help identifying it.
Keep enough leaves to carry the plant into its next season
A healthy established clump can regrow after a larger harvest in active growing weather. Give it time to replace the leaves before repeating the cut. As autumn light declines, growth slows and the foliage may die back in a cold climate. Shelter an exposed container where appropriate for local conditions and make sure it does not stand in water. Mark the pot so you recognize it when new shoots appear. A plant that has gone dormant can look empty for months.
If you want chives in two seasons, use the strongest outdoor clump in the main growing period and keep a smaller pot for a bright protected spot when outdoor growth slows. The two plants may produce at different rates. Look at how quickly young leaves reach a useful length before deciding how much to cut. If neither plant can keep up during winter, give both a rest and harvest again in spring. There is little benefit to shaving weak shoots off a plant that cannot replace them yet.
If you keep two pots, harvest from them in rotation. Wait for the cut pot to put out several new leaves before relying on it again. The slower pot may be telling you that it has less light or needs division sooner, even when it was planted on the same day.
After a few years, lift the original clump again if its middle opens up or it becomes difficult to water. Keep vigorous outer portions and renew the soil or mix around them. Decide how many divisions you can actually use before filling several pots. One strong clump and a small backup are often enough, and they stay manageable when you can see where each leaf and flower stalk begins.
Back to top