7 min read
Start Seedlings on One Small Shelf
Decide how many plants can leave the shelf before you sow, then give the seedlings the light and room they need as they grow.
On this page
The first tray seems small. It fits between a lamp and the window, and there are still seeds in the packet, so another row feels harmless. A month later each of those rows needs more room and several plants are shading their neighbors. A small seed setup works best when you count backward from the space you can plant and forward from the space you can light. Leave room for the period when the plants are big enough to be awkward and it is still too cold to set them outside.
Make a list from the final garden
Draw the outdoor pots or beds and write down the actual number of transplants each crop needs at mature spacing. If there is room for three tomato plants, decide whether to start five to allow for a loss or to buy the extra from a nursery if needed. Twenty seedlings do not increase the number of places where tomatoes will grow. Unused plants consume light, mix, and time that could go to crops with a real destination.
Separate crops worth starting indoors from ones better direct sown. Tomatoes and peppers in short growing seasons often benefit from an indoor start. Many carrots and other root crops are usually easier to sow where they will grow. Fast crops like beans can outgrow a small indoor cell quickly and often do well direct sown in warm soil. A nursery transplant is a practical option for a crop of which you only need one or two plants. The seed shelf should serve the garden rather than becoming a second garden you cannot get out of the house.
Estimate the outdoor date using local frost information and the crop's temperature needs. Some crops can take cool weather but a warm season seedling may stall in cold soil long after the average frost date. Work back using seed packet guidance for the variety, and allow time for hardening off. Write the date for each sowing on a label in advance. Starting everything on the day the seeds arrive can force you to keep big, tender plants inside weeks longer than intended.
Measure the lighted footprint
Measure the part of the shelf that can be lit evenly, including the edge where a plant will reach by the time it has several true leaves. A sunny window can help, but light through glass often comes from one direction and changes with weather and the season. Suitable LED or fluorescent grow lighting can give more consistent results. Follow the light's instructions for distance, duration, and coverage. Many seedlings do well with roughly fourteen to sixteen hours of light and a dark period, but intensity and crop needs matter. A long day under a weak distant lamp may still yield lanky plants.
Install the light so you can raise it or lower the tray. Keep cords and electrical equipment away from irrigation and drips, and use equipment intended for the environment. Leave room for a tray with a lip so you can water without wetting the shelf. Check the height clearance for the largest plant. Small seedlings can share a level at first; when some grow taller, set the smaller tray on a stable riser so both can remain within the useful light. A timer is an easy way to make lighting consistent while still leaving a night.
Observe how plants respond. Stems stretching toward one end of the shelf may point to uneven light. Leaves pressed against a fixture or bleached at the top suggest too much light or heat at that position. Rotate trays to even out a modest difference, but do not use rotation as the main solution to a shelf that is mostly dim. Reduce the number of plants or improve coverage. A single stocky seedling will be easier to transplant than several tall weak ones.
Sow in containers you can manage separately
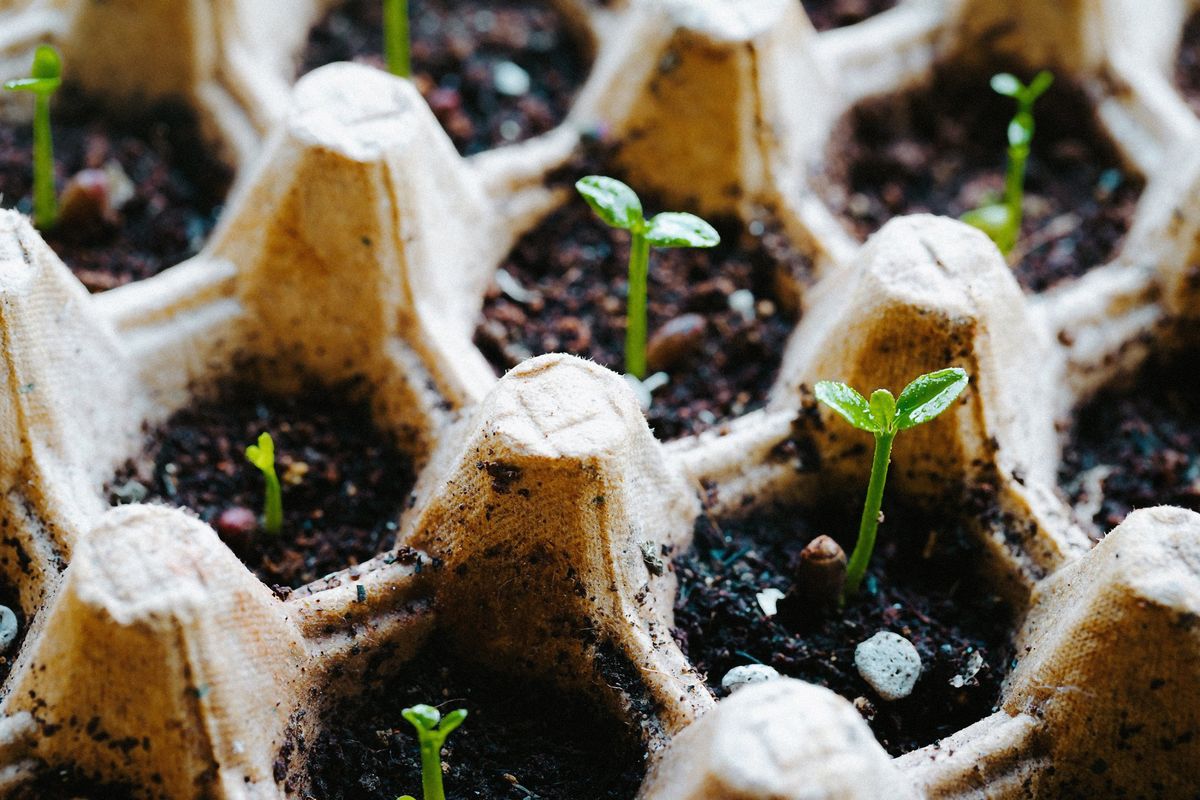
Use clean containers with drainage holes. Individual cells make it possible to remove one group from under a cover as soon as it germinates. A shared tray can be efficient for a single crop with similar timing. Mixing several crops in one covered tray makes it difficult to keep the last seeds moist without keeping the first seedlings in stale, humid air. Label the cells with crop, variety, and date. Permanent labels are preferable to memory when the cotyledons look alike.
Use a fine seed starting mix and premoisten it evenly. A crumbly moist mix is easier to fill than dry powder or a wet lump. Sow at the packet's depth; some small seeds need light and should barely be covered. Press gently for contact rather than packing the cell. Water with a gentle stream or use a shallow tray from below, then allow the cells to drain. Avoid leaving them standing in water.
Some warm season seeds germinate better in warm mix. If you use a heat mat, choose equipment intended for seedlings and use temperature control or monitoring. Measure at the tray rather than assuming room temperature tells you what the seeds feel. After germination, many seedlings do not need extra bottom heat. Move them into appropriate light quickly. A clear cover can reduce drying before emergence; vent or remove it once seedlings appear so the leaves do not stay in stagnant damp conditions.
Make the crowded phase shorter
Check the tray daily as seedlings come up. The first leaves are seed leaves; the shapes you recognize may not appear until the true leaves open. If several seedlings germinate in a cell, keep the strongest well placed seedling and snip the extras at the surface if pulling would disturb the roots. Use a clean tool. A cell crowded with several stems may look full but roots will compete and become difficult to separate.
Move seedlings into larger cells or small pots when roots hold the plug together and growth is beginning to require more space. Do not wait for a solid mat of circling roots, and do not put a tiny plug into a very large damp pot without a reason. Lift by the plug or a leaf, taking care not to crush the stem. Set plants at the appropriate depth for the crop. Tomatoes can root from buried stems under suitable conditions; many other seedlings are best kept at the former level. Water once to settle the mix and return them to adequate light.
Young plants may need a dilute feed according to the product directions if they are growing in a mix with little nutrition. Check what the mix already contains. A small seedling with a pinched brown stem at the soil line is not asking for fertilizer. Remove collapsed plants, check whether the tray stays wet, increase spacing and gentle air circulation, and start over with clean containers if damping off is spreading. Avoid blasting seedlings with a strong fan or allowing trays to dry out as a reaction to the problem.
Transition outdoors in groups
Before planting, expose seedlings gradually to outdoor light, temperature, and air. Start in bright shade with some shelter and short outings, then build toward the conditions of the final site over about a week or longer. Protect tender crops from cold and strong wind. Keep a tray available for bringing them in quickly. On a small shelf, stagger hardening groups so that plants from early sowings leave the shelf as later crops need more room. A few labeled trays are easier to track than many loose pots.
Water the plug before transplanting if it is dry, and water around the root ball afterward. Cloudy conditions or late in the day can help reduce stress, as long as overnight temperatures suit the crop. Check the plant the next morning. A tiny pot dries faster than the bed around it; a damp bed does not guarantee the plug is damp. Use your finger near the new roots to guide the next irrigation. Avoid feeding heavily before the roots have begun to grow outward.
At the end, write down how many plants you needed and how many useful seedlings the shelf actually produced. Record whether you ran out of width, headroom, or time. If you had to nurse leggy plants for weeks, sow later or grow fewer under better light. If the early planting went smoothly, save the sequence of dates and labels. One shelf is plenty when plants move through it on purpose.
Decide what to do when spring runs late
Keep two or three clean pots in reserve for plants that need another week inside. If the forecast turns cold, give priority to healthy crops whose roots are already filling the plug. Pot them up by one practical size if you can maintain good light and drainage. Shift the smallest trays to the shelf's brightest usable edges or give them a separate support so they do not sit under the leaves of taller plants. Avoid making room by crowding young seedlings into a common pot. Root disturbance later can undo the gain.
If a plant has already outgrown the setup and the final bed is nowhere near ready, look at how fast the crop grows. A quick second sowing may catch up with a stretched or stalled transplant. For a slower crop, one nursery plant might fill the gap. Note the weather that caused the delay rather than setting a rigid earlier or later date next year. Spring rarely repeats itself exactly.
Back to top