8 min read
Growing an Upright Rubber Plant Indoors
Keep new leaves large and the stem stable as a rubber plant grows from a nursery pot into a floor plant.
On this page
A rubber plant can change the scale of a room in a few growing seasons. Its new leaves rise folded from a pointed sheath, then open into broad surfaces that reach toward the window. A short nursery plant tolerates a surprising amount of handling. A tall specimen becomes heavy to move and may have only one strong growing tip. Set up the light, pot and support while the plant is easy to reach. Later, the main work is keeping its root zone in a regular drying pattern and deciding whether you want one stem or several.
Give each new leaf room to open
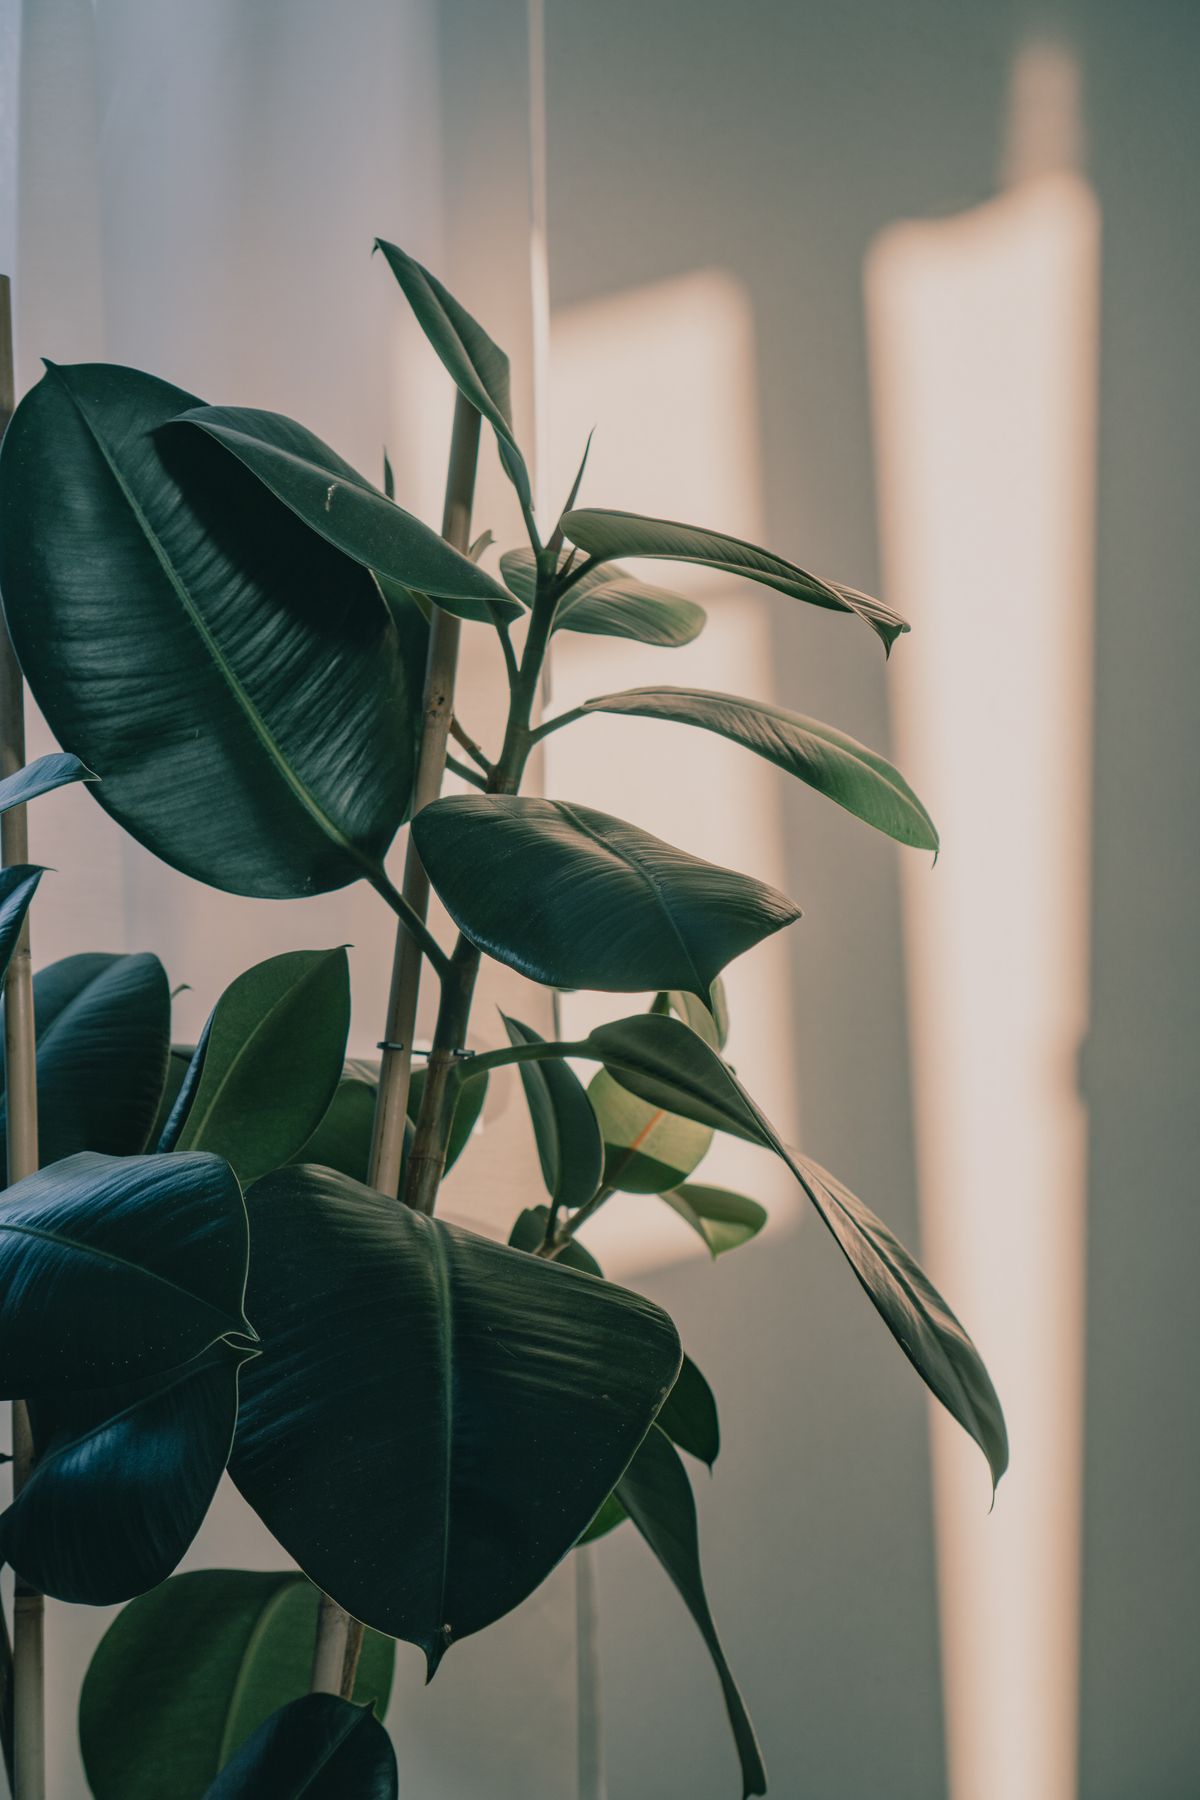
Set Ficus elastica in bright filtered daylight. A spot near a large window works when the plant has clearance for its future width. Check the position through the day. A young plant used to lower light can scorch in a hot beam even if an established specimen in that window handles some direct sun. Shift it closer a little at a time, and use a thin curtain if afternoon rays become intense. A deep corner that looks bright to a person may keep the plant alive while producing smaller leaves and a longer reach between them.
The new leaf often emerges in a colorful sheath. The sheath dries and falls away once the leaf has opened. Leave it alone while it covers the new leaf. If you brush the plant with a curtain or carry it through a narrow doorway during this stage, you can tear the emerging growth. A marked leaf will normally keep the mark as it expands. Move a plant whose tip repeatedly touches glass, shelves or lamps. Look ahead to where the next leaf will be and leave some room above it.
A rubber plant can lean if all of its light comes from one direction. Rotate the pot a little at a time if you want a balanced plant and the container is easy to turn. Make the change gradually on a large plant that already has one strong direction of growth. If a narrow space will always give light from the same side, set a support behind the stem and let the foliage face the window. The trunk often needs less help once it thickens, but a heavy canopy and a lightweight pot can keep the plant prone to tipping.
Check the root zone before watering a floor pot
Let the upper part of the mix dry before watering. How far to check depends on the size of the pot. In a small nursery pot, a finger can reach a useful part of the root zone. In a deep floor container, use a clean wooden skewer toward the middle. If the wood comes out damp and coated in particles, wait and check again. Feel the weight of a smaller pot when it has drained so you can compare it the next time. In cold weather, the center may stay damp after the top looks dry.
When water is due, wet the mix slowly around its surface. Let runoff come through the drainage hole and remove it from the tray or cover. If the pot is too heavy to carry to the sink, set it where you can reach the saucer with a small baster. Watch for runoff that collects ten minutes after the first flow stops. A nursery pot nested tightly in a decorative cover can hide that water. Use an outer container that allows you to lift or tilt the liner while the plant is still small, then adapt the setup before it becomes too heavy.
Dropping leaves can follow a sudden move, cold exposure, persistent wet soil or drought. Look at what changed first. If the plant was moved closer to an exterior door, feel the airflow there when it opens. If the pot was watered on the same day each week despite cloudy weather, inspect the deeper mix. When lower leaves turn yellow together and the mix smells sour, check the root ball. A firm stem with firm roots has a better outlook than one with soft tissue at soil level. Replant viable roots in fresh airy mix and choose a container sized to the remaining roots if decay has reduced them.
Repot when there is a reason to
Roots visible in a drainage opening are a cue to inspect. A dense root ball, soil that no longer takes up water evenly and a tendency for the whole plant to tip can justify a larger pot. If roots are still scattered in the mix and the moisture pattern is steady, improve the light or support before adding container volume. Moving a small root system into a very large pot leaves extra wet soil around it. Choose a diameter one size larger and keep good drainage.
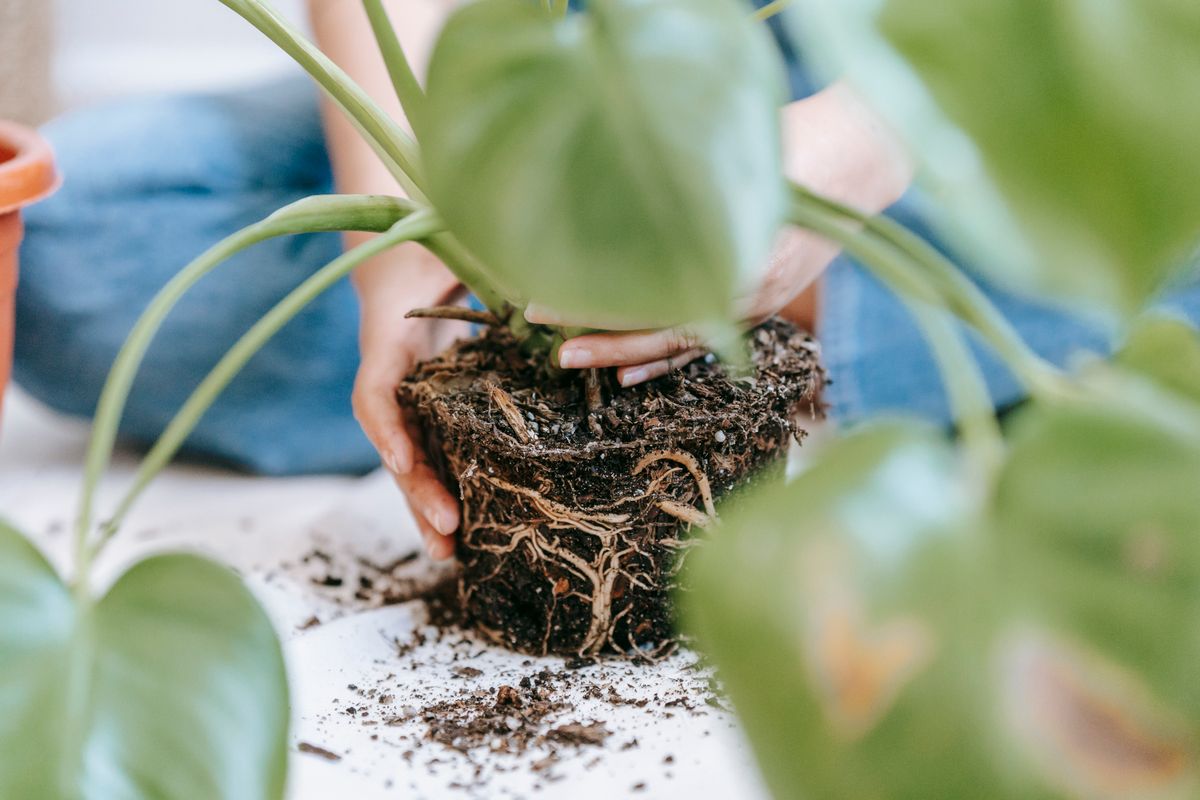
Prepare the floor with a sheet and set the new pot beside the old one. Dampen fresh potting mix and add coarse perlite or a little fine bark if it feels heavy. Tip the old pot carefully while supporting the stem at its base. Have someone hold the leaves on a large specimen so you can concentrate on the pot. Ease the root ball out, loosen only the tightest circling roots when necessary and set it in the new pot at the same depth. Add mix around the edges and leave space for watering above the soil. If it needs a stake, set it in place while you can see where the largest roots lie.
Settle the potting mix with water and let it drain. Put the plant back in familiar light while it adjusts. Check both the old root ball and the new ring of soil before the next watering, since different mixes may dry at different rates. A new pot can hold more water for longer even if the plant needed the space. Record the first two drying intervals as you learn to judge it from the floor.
Decide where to shorten a tall stem
If a plant has grown past the best light or reaches a ceiling, identify a healthy point on the stem below the height you want. Cutting back during active growth gives the plant a chance to push one or more new shoots below the cut. Branching varies by the plant and its conditions. A cut made very high may produce several shoots close to the ceiling. Allow room for the future growth before choosing where to prune. Wear gloves if the milky sap irritates your skin, protect nearby surfaces, and keep pieces away from children and pets.
Use clean sharp pruners for a small stem. On a thicker stem, support the top before cutting so it falls clear of the pot and leaves. Trim just above a node, where a leaf is or was attached. Leave healthy foliage on the remaining plant if its shape permits. The change can temporarily make the plant use water more slowly, so check its mix instead of sticking to the old interval. If it produces more shoots than you want, let them grow enough to see their direction before choosing which to keep.
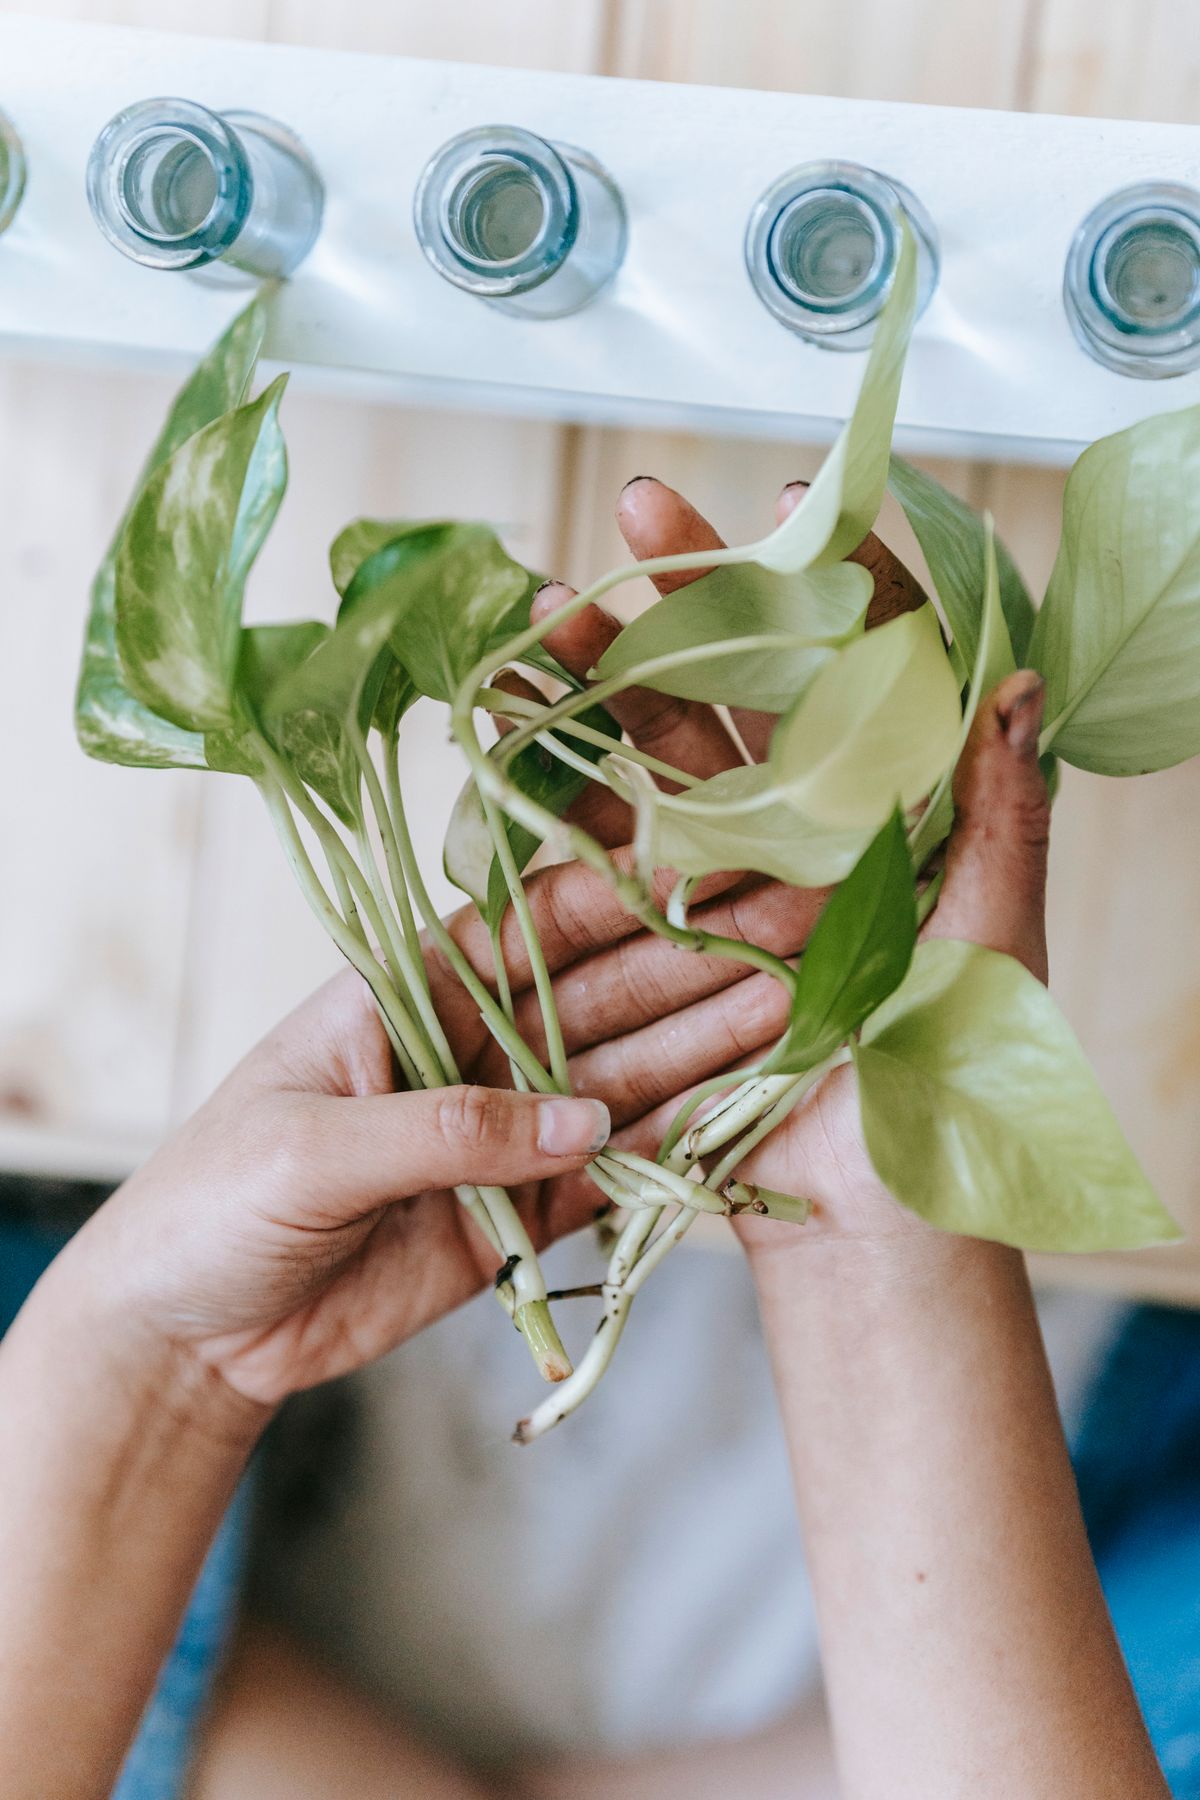
A top with several leaves can sometimes be rooted as a stem cutting. You need a section with a node. Use fresh propagation medium and warmth, and reduce leaf demand if the cutting is large. Air layering is another way to prepare roots on a tall healthy stem before removing it. For a plant that fits the room, pruning can be as simple as removing a damaged lower leaf. A column of foliage can suit a narrow space even if a fuller canopy would look better elsewhere.
Recheck the top tie after the stem has thickened. A tight loop can leave an indentation even if it was loose when first attached. Replace it with a broader tie and move it below a sound leaf junction if the stem starts slipping upward as you adjust the stake.
Keep the leaves easy to inspect
Hold the underside of a leaf with one hand and wipe the top with a damp cloth. Move from the middle toward the edge without twisting the leaf stalk. Clean leaves make it easier to notice raised scale insects, fine spider mite webbing or sticky residue. Check both sides of a suspicious leaf and examine the stem beside it. Isolate the pot if pests are present and clean tools before handling the rest of your collection. A new plant is easier to check before it joins the others.
Apply a modest houseplant feed according to its label while the plant is actively growing if the mix needs it. Give it water first if the roots are very dry. In winter, move it clear of heater airflow and cold drafts and let its growth rate guide your expectations. A stationary plant may simply be waiting for brighter days. Measure how much room remains between the top and its surroundings at the end of each season. That will tell you when to plan the next stake or pruning cut, before a new leaf has to unfold against the ceiling.
A variegated rubber plant may need more light than a plain green one to maintain compact growth. The pale tissue is also easier to scorch during a sudden move. Start with bright filtered light and track a few new leaves. If a shoot develops a very different pattern, let several leaves open before deciding whether it should be kept. The markings on one emerging leaf can change as it hardens.
Back to top