8 min read
How to Root Pothos Cuttings
A single vine can yield several new pothos plants if you cut at the right spot and give the roots time to branch.
On this page
The first pothos cutting to take is usually the one you were about to wind around the pot again. An older vine that has grown past its shelf can be shortened, and the portion you remove can supply several small plants. Before you get the scissors, follow that vine backward and look for the places where its leaves meet the stem. Those joints determine which pieces will grow. Once you see them, the difference between a promising cutting and a green leaf that will sit unchanged for weeks is easy to spot.
Find a node before you cut
Each pothos leaf sits on its own stalk, called a petiole. Follow the petiole back until it joins the vine. The slightly swollen area at that junction is the node. Many nodes also have a hard brown nub on the opposite side, the beginning of an aerial root. On an older stretch of vine, you may see a leaf scar instead of a living leaf. A healthy node at that scar can still produce growth, though a beginner will find it easier to manage a cutting that already has a leaf.
Choose a firm vine with clean, well formed leaves. Start with a section that has three or four healthy nodes close together. Put the shears just below one node so the piece you remove includes that joint. Make a clean cut through the stem without squeezing it flat. You can leave the top as a single cutting or divide a longer vine into pieces with one or two nodes each. Keep the growing direction clear as you work. Lay each piece on the table with its tip pointing the same way, especially if you plan to root any bare stem sections.
Leave at least a few healthy leaves on the parent plant. If you are pruning a trailing plant to make it fuller, make its finishing cut just above a node that remains on the parent. That leaves a place for a new shoot to develop without a long bare stub extending from the end. Wash your shears before moving to another plant, particularly if you noticed discoloration or soft tissue on the vine.
Set up a water jar that you can see into
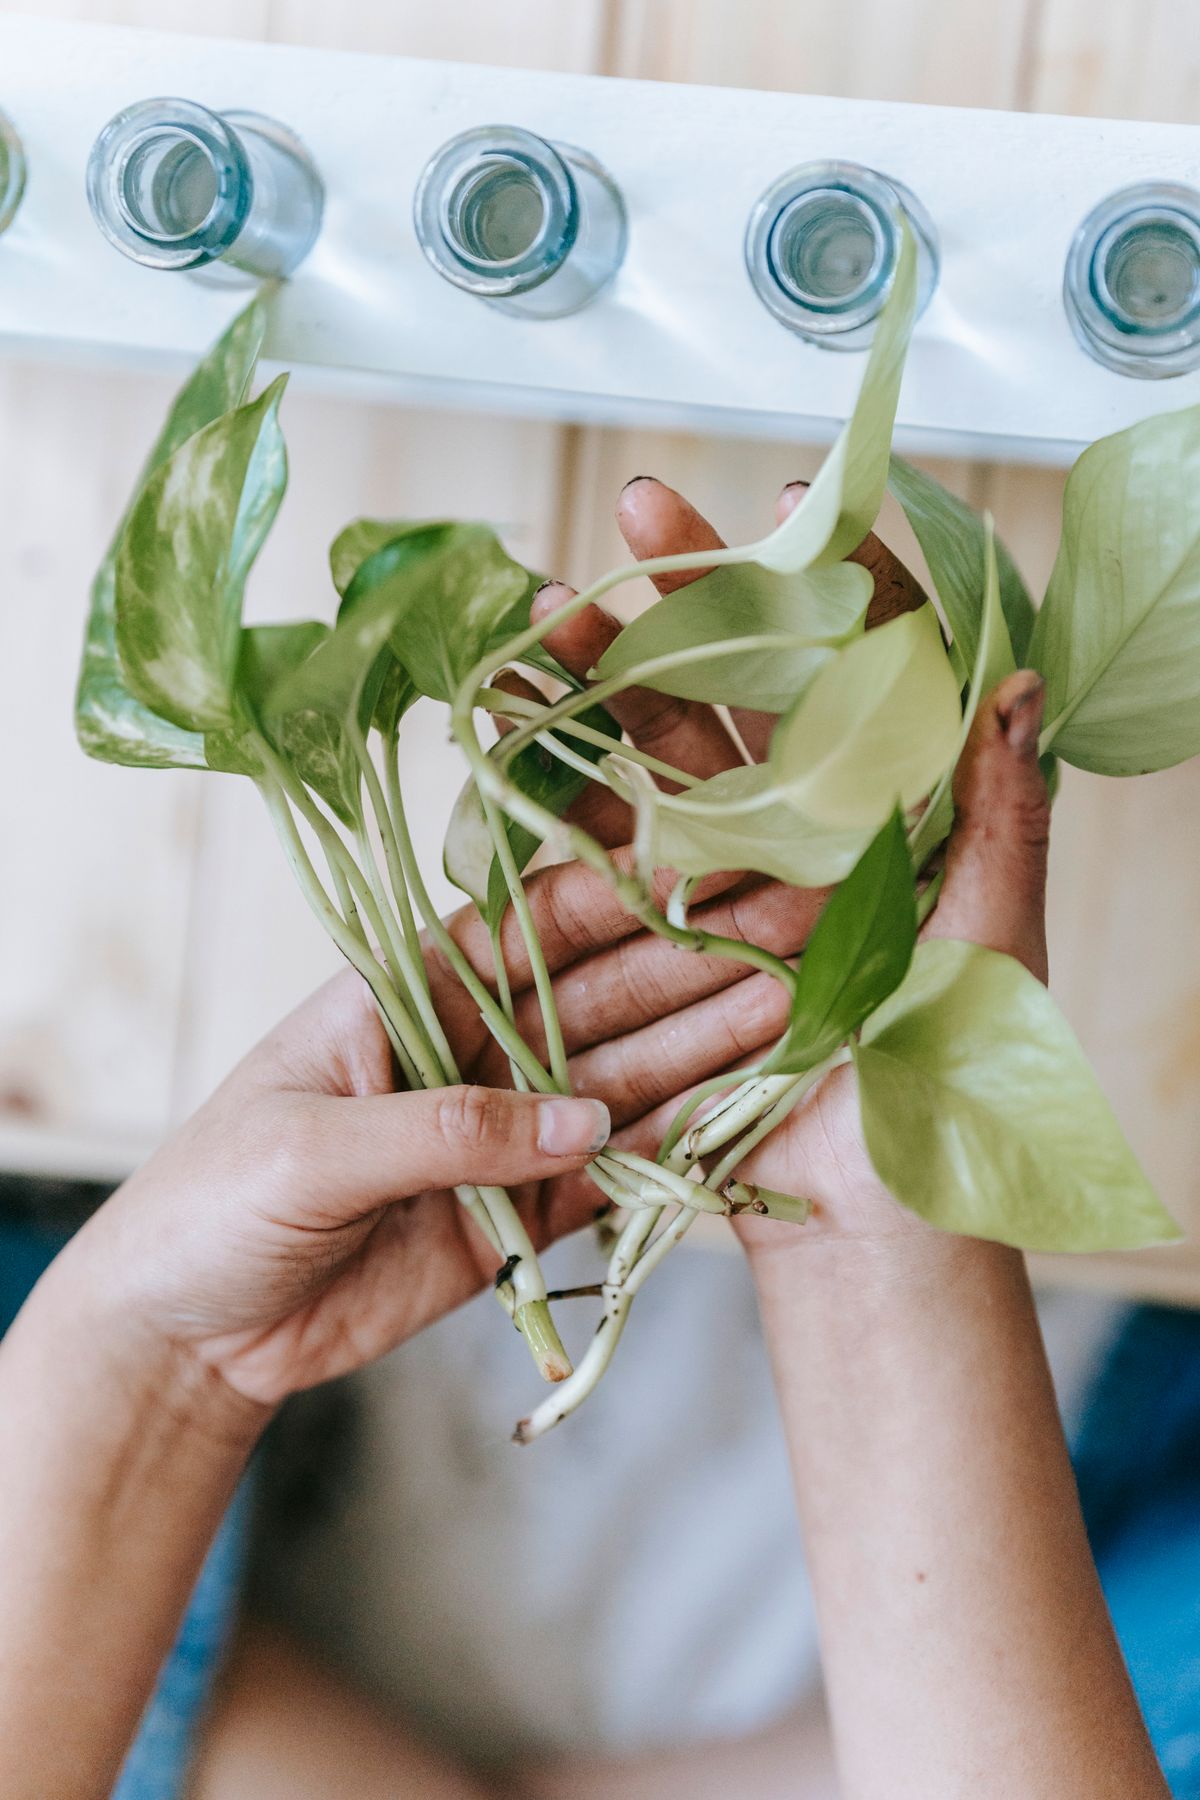
A small, clear jar makes the first batch easy to monitor. Wash it with dish soap and rinse away any residue. Fill it just deeply enough to cover a node on each cutting. If a lower leaf would dip into the water, remove it at the petiole. Keep the remaining leaves and the top of the cutting above water. A glass with a narrow neck can help hold a short cutting upright, but choose one you can retrieve the roots from once they spread.
Put the jar where there is bright, diffuse light. A table near an east window or a shelf near a brighter window with a thin curtain is a reasonable starting point. At midday, check that the glass is out of a hot beam. A jar can warm quickly in direct sun. A cool window ledge can also slow rooting in winter. Room warmth and adequate light matter more than moving the cuttings around every few days.
Top up the water when it drops below the nodes. Change it when it looks cloudy or smells off and give the jar a rinse. A regular check every few days will catch both problems. If you want to compare cuttings from different vines, label the jars on the day you take them. A dark brown nub may remain unchanged for a while before a pale root starts to extend from it. Some cuttings get there ahead of others even if they started on the same day.
Move the cutting when roots can fill a small pot
The first root is a sign to get supplies ready. Wait for a few roots, ideally with side branches starting, before planting. Very long roots can wind together in a jar and become awkward to arrange in a small container. A cutting with several roots roughly an inch or two long is often easier to handle than one with a single much longer strand. If there are several cuttings in the same jar, you can pot the ones that are ready and give the slower ones more time.
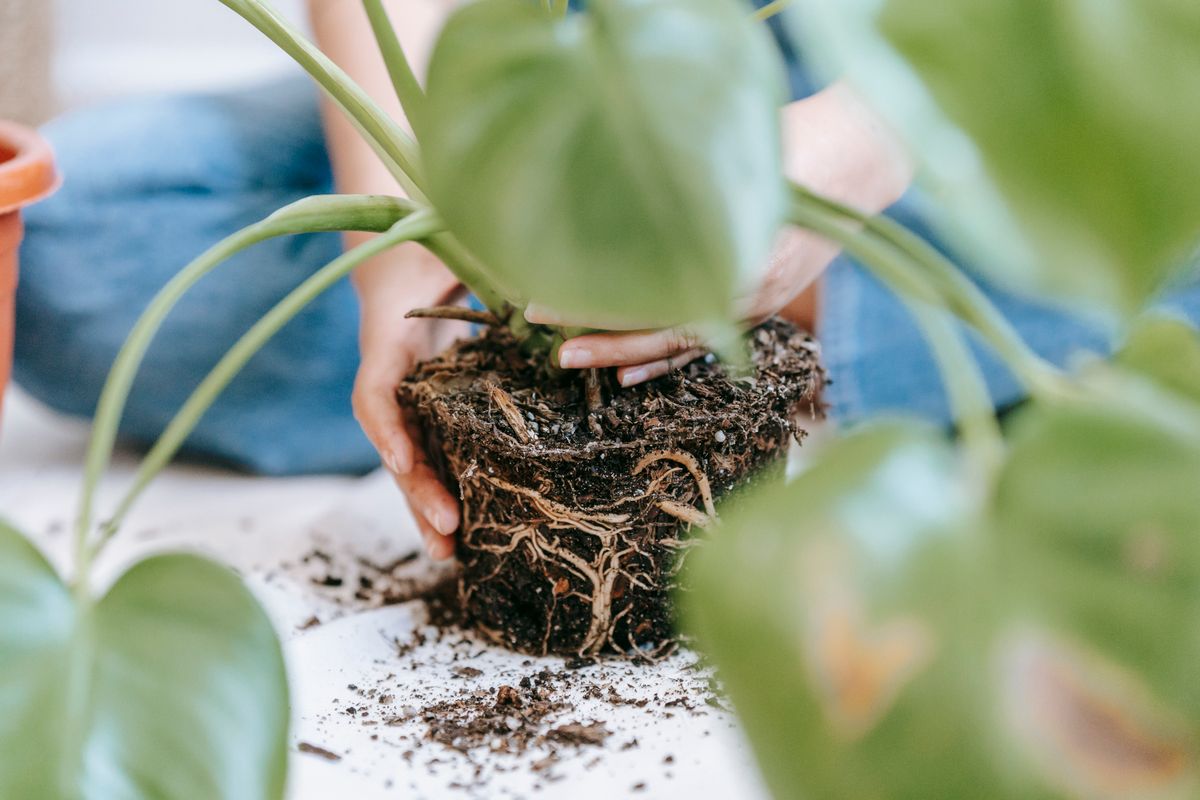
Use a small pot with drainage and fresh potting mix. A three or four inch pot is enough for a few cuttings. Dampen the mix before you fill the container. Dig a little pocket, lower the roots into it, and spoon mix around them without compressing it into a hard plug. Plant the root bearing node below the surface and keep the leaves up where they can dry. If you want the finished pot to look full, space the cuttings around its circumference with their leaves facing outward and leave a little breathing room at the center.
Water until excess drains from the bottom, then empty the saucer. For the initial adjustment, check the mix frequently and keep it lightly moist. Once the plant is holding its leaves firmly and starting to grow, let the surface dry somewhat between waterings. Move it gradually to the light you intend to give it long term. White or pale cream roots can turn tan after entering mix, and an older leaf may yellow during adjustment. Check for advancing softness at the stem before deciding a change in color is a problem.
Root straight into potting mix when you have many pieces
If you are making a dozen cuttings, rooting directly in mix saves the jar stage and the later move. Use a propagation tray or several small pots, filled with a damp, airy mix. Make each hole first with a pencil, slide the node into the hole and draw the mix back around it. Press lightly to hold the stem. A pair of cuttings can share a cell as long as you intend to transplant them together. Label a tray if you are mixing different leaf colors, since small new leaves can be difficult to tell apart.
Check moisture with a fingertip at the edge of the pot. Newly cut stems cannot draw on a large root system yet, so keep the medium evenly damp while leaving air in the pore spaces. If a heated room dries the tray very quickly, place a clear cover loosely over it and open the cover daily. Keep plastic off the leaves and move the tray out of direct sun. Condensation dripping from the lid is a cue to increase airflow. Gradually open the cover wider when the cuttings stay firm through the day.
A leaf that remains upright for two weeks can still belong to a stem with small roots. Watch for a bud swelling at a node or a fresh leaf starting to roll out, both of which are more useful than a daily tug. When you need to check, tip an individual plug out gently, supporting it from the bottom. Roots at the edge of the plug mean it can go into a small pot with minimal disturbance.
Read a stalled cutting before throwing it away
A firm green stem with a dry cut end and a stable leaf may simply need more time. During short winter days, move the jar closer to useful light or put it under a plant lamp for a regular daytime period. Check that the node is consistently submerged if you are rooting in water. With a potted cutting, look for mix that has shrunk away from the walls, an early clue that it has dried out below the surface.
A black, soft node that smells unpleasant is a different case. Remove the cutting from the group. If there is another healthy node higher on the stem, cut well back into firm tissue with cleaned scissors and try again in a fresh jar. If all the nodes are soft, discard that piece and wash the jar before using it again. Where several cuttings rot at once, look for submerged leaves, dirty containers, direct heat, or dense saturated mix. Fix one obvious cause before starting the next batch.
Some cuttings keep their original leaf for months before adding another. If the stem has roots but the new bud stays still, give the plant a modest pot and steady light. Stronger fertilizer cannot supply the light a plant needs to make sugars. Once there is active growth, a diluted houseplant feed used as directed can support it if the potting mix contains little fertilizer. Put cuttings where children and pets cannot chew them. Pothos contains irritating calcium oxalate crystals.
Build a pot that will look good from the shelf
Plan where the mature vines will fall. A pot on the far side of a shelf will grow toward the brighter front edge, so arrange a few cuttings near that side and turn the pot periodically once they establish. A plant you intend to train upward can start with two or three stems clustered near a slim support. Use a soft tie around the stem and leave the leaf stalks free to turn. If the first few new leaves are small, give them time to mature before judging the finished effect.
Keep a second cutting for comparison if you are learning a room. Put one rooted pot within a few feet of a bright window and one in the spot where you hope to keep the plant permanently. After several weeks of active growth, compare the distance between new leaves and the size and color of those leaves. Long stretches of bare stem or fading variegation tell you to move the plant nearer useful light. An established plant can tolerate a less bright location, but the cuttings give you an inexpensive way to find the distance where the new vines still look the way you want.
Back to top