8 min read
Helping a Moth Orchid Flower Again
After a moth orchid drops its last bloom, use the roots, leaves and spike to decide how to prepare for its next flowering cycle.
On this page
A bare moth orchid can be easy to overlook once the flowers finish. There may be a green stem rising over the leaves for weeks, and the only visible change below is a bright tip on one root. That root is a useful sign. An orchid needs leaves and working roots before it can support the next flower spike. First check the condition of the plant and the pot it came in, then choose whether to keep the old spike. The timing of another round of flowers depends on how steadily the plant can grow through the months in between.
Identify the plant and inspect the roots
Most common gift orchids with broad leaves growing from a single low center and flowers on an arched stem are moth orchids, or Phalaenopsis hybrids. Their roots are adapted to air and periodic moisture. This matters when a shop pot is packed tightly with moss and set inside a ceramic cover. Lift the inner pot and check for runoff. If it is clear, look for firm roots that appear green when wet and more silvery when dry. Roots in the dark inside the pot can be pale. A healthy one still feels firm.
A mushy or hollow root has lost much of its function. If several roots look that way, check the old medium. Coarse bark gradually breaks down, and tightly packed moss can stay moist long after its surface feels dry. A sour smell or mix that stays heavy through a week of ordinary room conditions deserves a closer look. One or two dry aerial roots can occur on a healthy plant. Decide from the whole pot and the firmness of the leaves. Wrinkled leaves can appear when an orchid is dry or when wet conditions have damaged its roots.
Inspect the center where the leaves meet. Keep water out of that space, particularly on a cool night. If you splash the crown while watering, tilt the plant to drain it and blot any remaining drops with a clean corner of paper. Check the sheath around the lowest leaves for signs of insects. Keep an infested plant apart until you know what it is carrying. A plant in good condition can focus on growing once the display is over. One with damaged roots is better given recovery time before you try to encourage flowers.
Choose what to do with the old spike
If a flower spike has turned brown and dry all the way down, it has finished. Cut it near the base with clean scissors, leaving enough of a stub to avoid touching the leaves. If it is green, you can leave it while the plant stays healthy. A side branch can sometimes grow from one of the nodes, the small joints along the spike. To try for a side branch, some growers cut just above a sound node below the spent flowers. A new branch may carry fewer flowers than a fresh spike and a response is never certain.
For a small or stressed orchid, removing an old green spike near the base is a reasonable choice while it builds roots and leaves. Cut the stake ties first. A bare spike can spring sideways when the last tie is removed, so steady it as you work. Leave green roots alone when you cut. They can look like short spikes where they emerge between the leaves. A fresh root has a rounded, smooth tip and often points outward or down. A flower spike tends to have a flatter tip and small nodes as it grows. A few more days of growth can make the difference clear.
If the plant has one old green spike and a new one emerging, leave enough room for both to move without rubbing. Do not hurry to clip a young spike to a stake. Wait until it is long enough to guide gently. As it extends, put the tie or clip where it will hold the stem without pressing on a bud. A spike that has hardened in an arch can be displayed that way. Forcing it straight can snap it.
Repot into a medium that suits your watering habits
If the roots have filled the pot or the medium has broken down, the period after flowering is a convenient time to repot. Choose a pot with generous drainage, close in size to the healthy roots. A clear orchid pot helps you monitor moisture. Coarse orchid bark leaves plenty of air around the roots. Loosely packed sphagnum holds moisture longer and can suit a warm dry room or a grower who checks less often. A small orchid in bark can dry quickly, while a large pot with dense moss may stay damp for too long.
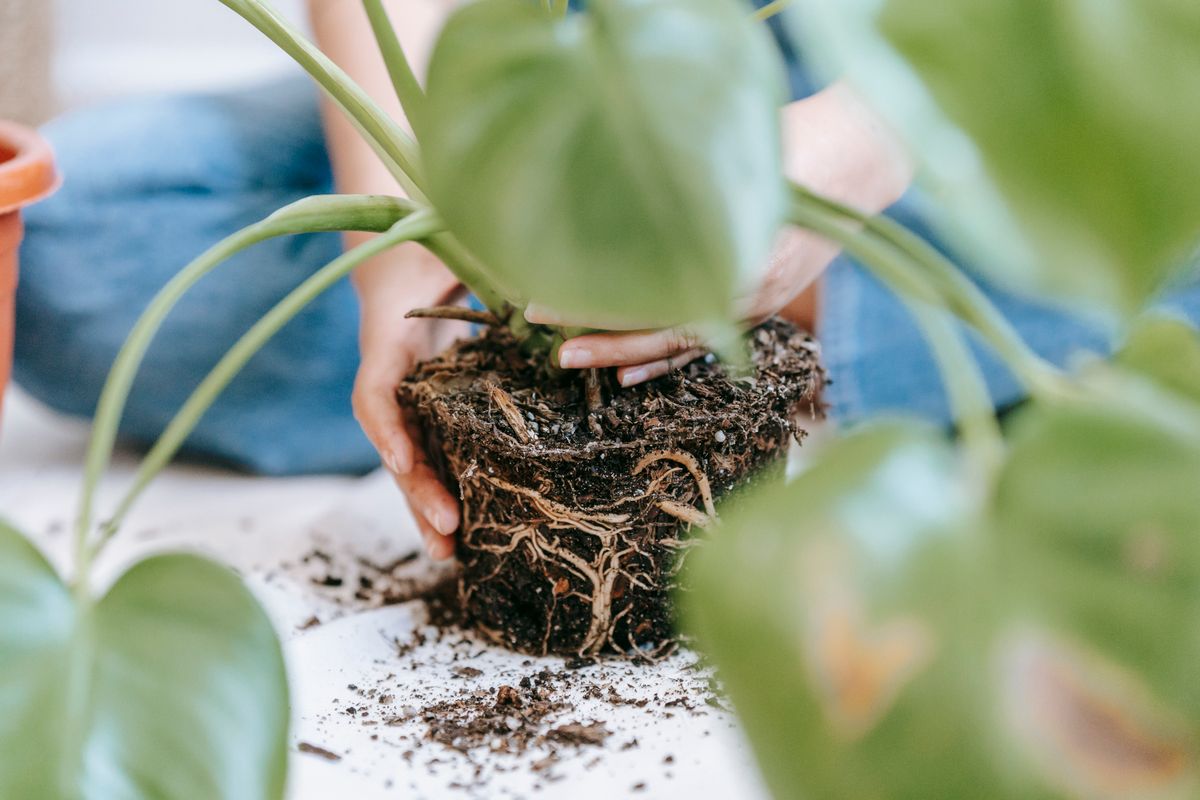
Dampen the new medium and ease the orchid out. Gently remove loose old material, working around the roots. Trim roots that are clearly dead or mushy and keep firm ones, even when they have an awkward shape. Set the orchid so the base of the leaves is above the mix. Guide roots into the pot only as far as they bend readily. A thick aerial root can stay outside. Work bark pieces between the roots, tapping the side of the pot lightly as you fill. Secure a loose plant with a temporary clip or stake so new root tips can settle without the whole plant shifting.
After repotting, check the mix before watering. A new coarse bark mix dries differently from an old moss core. Water thoroughly when the medium is approaching dryness and let the pot drain completely. Run room temperature water through the container at the sink and keep it out of the leaf crown. Set the inner pot back in its cover only after it finishes dripping. If the bark is very dry and water passes through without wetting it, moisten it slowly in a couple of passes. Keep each orchid's runoff separate if you grow several plants together.
Provide light for healthy new leaves
A bright window with filtered light suits many moth orchids. An east exposure is often convenient, while a stronger exposure can work with a sheer curtain. Keep the plant off glass that gets cold at night. Check the leaves nearest the window after you move it. Pale dry patches can result from too much direct sun. Very dark green foliage accompanied by slow growth can suggest the orchid needs more light, though leaf color also varies by cultivar. Compare new leaves of the same plant over time.
Keep a steady watering rhythm based on the actual medium. A bark pot can appear dry above and still feel cool deeper down. Check its weight and inspect the roots through the wall if the pot is clear. Let the medium approach dryness and water before a healthy plant has to spend extended periods completely dry. During active growth, use a dilute orchid fertilizer according to the label and periodically rinse the pot with plain water to limit salt buildup. Add feed to a watering the plant already needs. A plant with very dry roots can be wetted first with plain water.
A mature healthy moth orchid can initiate a new spike after several weeks of mild nights cooler than the days. In autumn, a room that is a little cooler overnight can provide that shift without exposing the plant to a draft. Many hybrids respond to nights around the low to middle 60s Fahrenheit with warmer days. Keep the orchid away from cold air at an open window and avoid abrupt temperature extremes. Cooler nights are a cue for a plant that already has enough light and healthy growth to flower.
At the first sign of a spike, choose the side from which you want to see the flowers. As buds develop they often orient toward the light. A stake can keep the spike safely in place while it grows, and a clip placed behind the flowers will be less visible when they open.
Protect developing buds once they appear
A young spike may take weeks to develop buds. Leave it in a steady position once you see them. Sudden changes in heat, humidity, watering or light can cause buds to dry and fall. Keep it clear of hot vents, cold doors and bowls of ripening fruit. If one bud fails and the rest remain full, check the conditions and avoid making several large changes. Maintain its familiar light and water by the root zone.
As the flowers open, move the plant only as much as you need to see and care for it. A vase on the same table can be moved for dinner. An orchid with a long new spike is easier to keep steady in one place. Write down when you first saw the spike and whether it developed after a period of cooler nights. The next time the last flowers fall, those dates will help you distinguish the plant's normal pause from a change in its growing conditions.
Sometimes a small plantlet grows on a green spike. Look for a tiny pair of leaves followed by roots of its own. Give it time to develop several useful roots before considering separation. A plantlet still drawing on the main orchid may take many weeks to get there. If the mother plant remains strong, leave it attached while you maintain the usual routine. Label it when you eventually pot it so you can compare its first flowers with those on the original orchid.
Back to top