7 min read
Growing Sweet Peas Up a Garden Support
Sow for cool growing weather, give the tendrils something narrow to grip, and pick regularly before the plants turn to seed.
On this page
Sweet peas can get tangled before they reach the bottom of the support you built for them. A stem that misses the first piece of netting may grab its neighbor and pull both toward the ground. By midsummer, those early choices about where to put a trellis and how to guide the tips affect how easily you can pick. Start with a structure that the tendrils can actually hold and leave space to stand beside it. The same spot should give the roots enough water as the plants climb into brighter, warmer air.
Choose flowers and sowing dates together
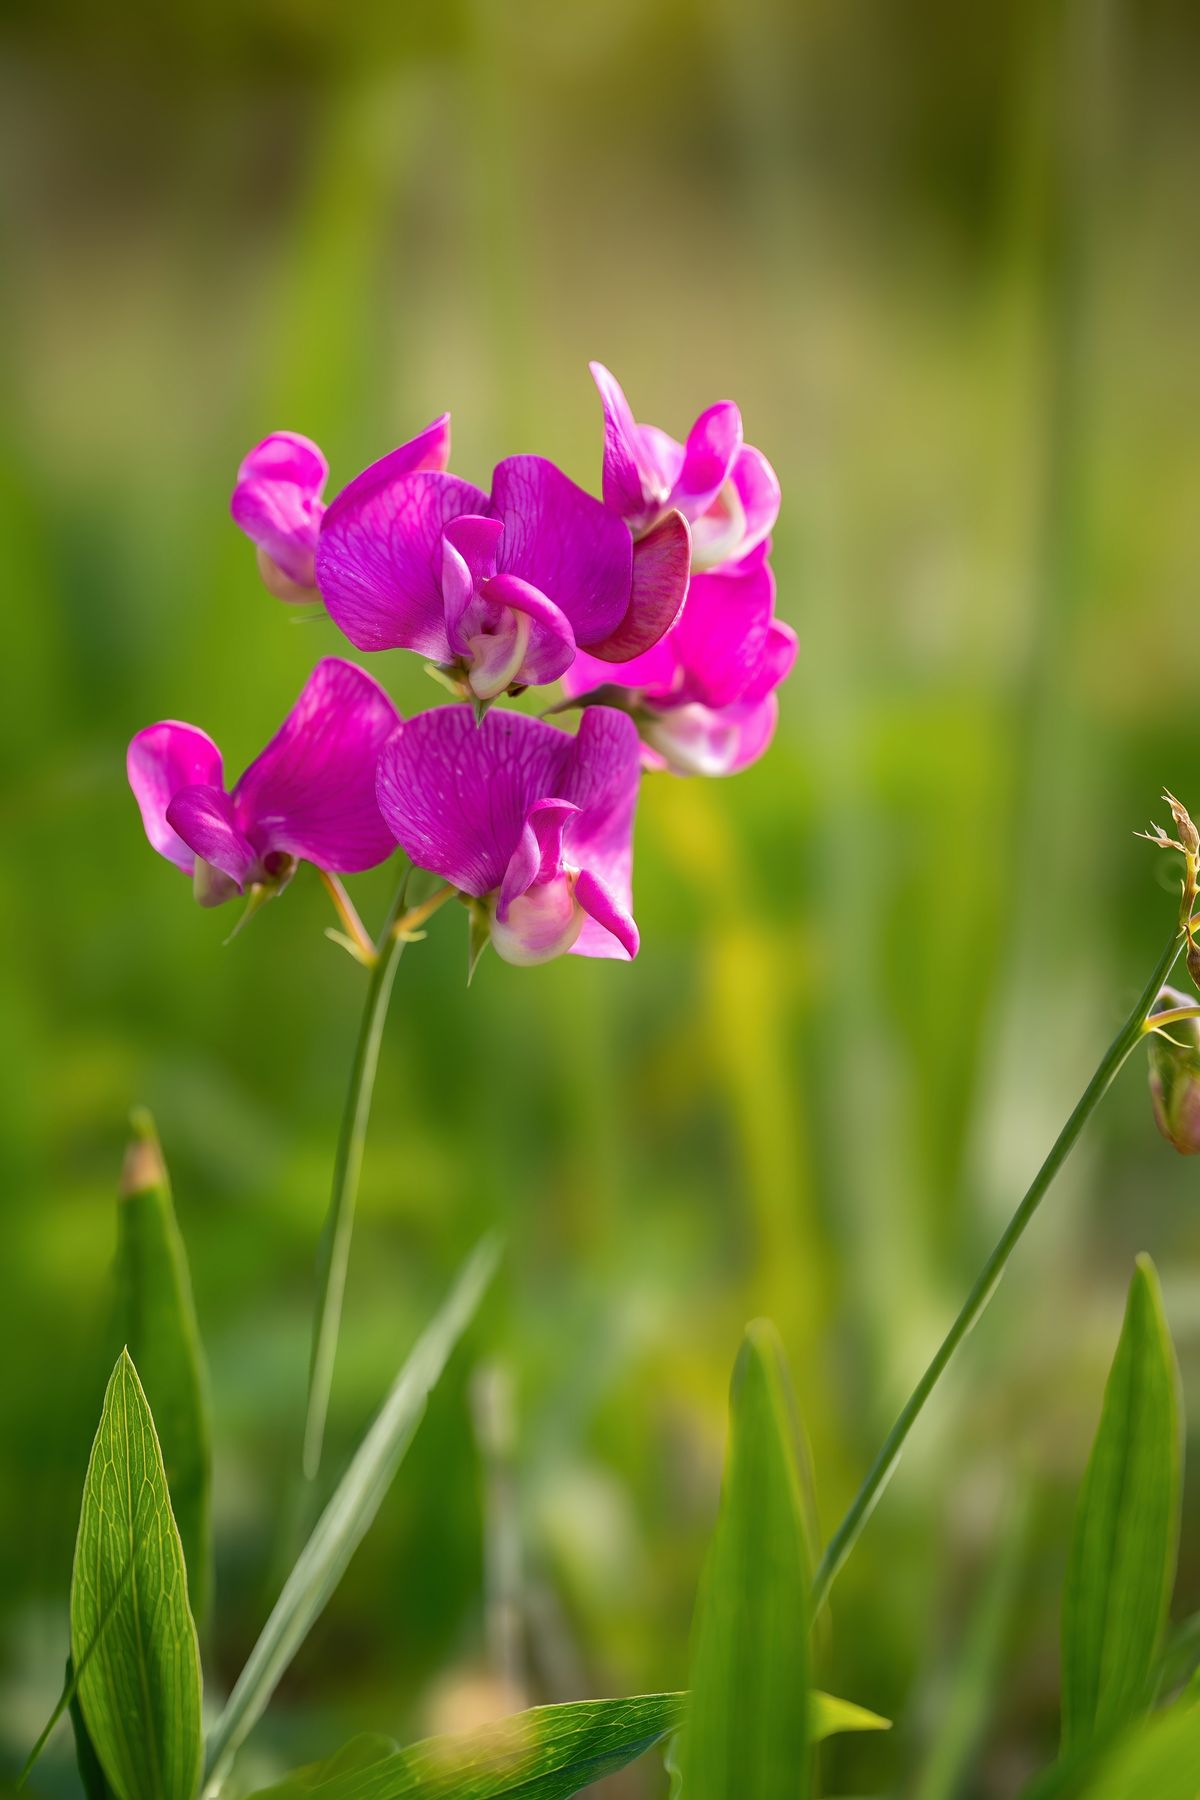
Garden sweet peas grown for fragrance and cutting are commonly annual Lathyrus odoratus. Look for named varieties if scent matters to you, because the strength varies. Tall climbing selections can reach several feet and make useful cutting stems. Short or bushy cultivars can work in pots with a lower support. Check the label rather than guessing from the bloom photo. A perennial sweet pea is a different plant and often has little fragrance. Ornamental sweet peas are separate from edible garden peas. Their seeds and pods are poisonous and must not be eaten.
Sweet peas prefer cool growing weather. In a mild climate, an autumn sowing under suitable cover can give the plants an early start. In a region with harsh winters, sow indoors in late winter or early spring and set the seedlings out when local conditions are suitable. Another option is to sow directly when the soil is workable and weather is cool. Read local guidance for timing and watch for hard freezes. The goal is to establish the roots while there is still a long stretch of mild weather before summer heat.
Prepare deep cells or small tall pots if you start indoors. Sweet peas quickly send a root downward, and individual cells make it easier to transplant without tangling. Fill with moist seed starting mix and sow to the depth on the packet. Some growers soak hard seeds briefly before sowing. Fresh seeds often germinate readily without it, and seeds left in water too long can deteriorate. Keep the mix lightly damp and provide light as soon as stems emerge. Label each variety if you want to compare scent or flower stems later.
Build the support while the bed is open
Choose a sunny position with some shelter from strong wind. In regions with hot summers, a little relief from the worst afternoon heat can help extend the flowering period. Prepare soil that holds moisture while draining. Incorporate mature compost where the ground needs it, working through the bed so the whole root area can use it. Check that a row near a fence still receives water. The strip beneath an eave can stay dry after a garden has been rained on.
Put the support in before planting. A sturdy frame covered with netting gives many points for tendrils to grip. Branching sticks or bamboo canes with strings at short intervals work for a smaller patch. Thick smooth posts can carry the frame, but a young tendril wraps around narrow material more easily. Start a horizontal line or some mesh close enough to the soil for the seedling to reach. Press posts in firmly and test the frame from the side. Mature vines catch the wind and become heavier after rain.
Leave access for picking. A flat row that can be reached from two sides is straightforward, while a teepee can make inner stems hard to see. Set a teepee where you can walk around it without stepping into another bed. A tall support on a container needs particular attention to balance. Use a broad heavy enough pot with drainage and secure the structure so it cannot fall into a path. A short cultivar may be easier to care for where a large structure would be exposed.
Plant out without pulling the roots apart
Harden seedlings off in stages. Begin outside in a sheltered position for a short period and increase exposure as they become accustomed to light and wind. Protect young plants from severe cold when it threatens. Water the cells before transplanting so the root plugs hold together. Set each plant at roughly the same depth it grew and firm the soil gently. Follow the variety's spacing guidance and leave enough room at the base for each plant to find its share of the support.
When stems are several inches high and have formed a few sets of leaves, you can pinch a vigorous tip above a leaf pair to encourage side shoots. Branching gives a fuller screen and can increase the number of flowering shoots. Growers who want especially long straight cutting stems sometimes train selected stems individually and remove side growth. For a garden trellis, a few branches per plant are easy to manage. Choose the amount of pinching according to the vigor of the plant and how soon you want the first flowers.
Guide new stems to the net or string with your hand. If needed, use a soft loose tie and check it a week later. The tendrils will begin attaching to the structure as they find it. Unwind a young tendril gently if it has caught a nearby plant. Once several stems have wound tightly together, pulling can break a growing point. Shift the whole group toward the support or trim the particular tendril that is in the way. Give the main stem room to thicken inside every tie.
Water below the vines and follow the shoots upward
Keep the root zone evenly moist during active growth. Check soil at the base of the row, where the vines can deflect rain. In hot weather, water deeply before the leaves wilt for long periods and let the soil drain. A light mulch over settled soil can slow drying. Keep it away from the young stems and look beneath it if slugs are active. Pots need closer monitoring because a large screen of leaves can draw on the container quickly. After watering, let it drain fully before returning it to a deep saucer.
Check the frame as vines reach the top. Add a higher line if it is safe and practical, or let a few stems drape over the top where they have space. Keep the active growing tips clear of a doorway or other place where people will brush past. If the plants have made lots of soft leaves without many buds, assess whether they are getting enough sun and whether they received too much high nitrogen feed. Use any supplemental fertilizer according to the label and the needs of your soil or mix.
If older leaves develop a pale coating or yellow in a crowded patch, increase airflow where possible. Take off badly affected leaves with clean snips if you can reach them without tearing stems. Check both sides of new leaves for insects when you tie the shoots. Sticky tips or distorted new leaves can point to aphids. A gentle rinse can dislodge some insects where the plant can dry afterward. In warm weather, flowering can slow even in a well tended patch. An earlier sowing next year may give you a longer period before the heat arrives.
If some vines are flowering from the back of the net, reach through only when you can follow the stalk with your fingers. On a narrow trellis, it may be easier to walk around and cut from that side. Picking from both sides also helps you spot pods hidden under older leaves.
Pick before the pods build up
Harvest when the lower blooms on a stem have opened and the upper buds are well formed. Take a small clean bucket and set stems in water as you go. Find where each flower stalk joins the vine so you can cut it without trimming the main growing tip. Strip any material that will sit underwater. A few fresh stems can scent a room, so frequent small picks make sense if you have only a short row. Place the vase in a cool position and renew the water when needed.
Remove the old flowers you did not pick before the pods develop, unless you deliberately want seed. The small green pods are easy to miss among the tendrils. Check the far side of the support when you water. If you do collect seed, label it clearly as ornamental and store it separately from edible peas. Open pollination and variety differences can lead to unexpected colors in the next generation.
Notice where you could pick stems without reaching over the structure. Record which varieties made flowers while the weather was still cool and which produced long stems. Next season you can move the support a little farther from a wall, start a variety earlier, or use a lower growing selection in the spot that caught the wind. A trellis that is pleasant to stand beside is also the one you are most likely to visit often enough to keep cutting.
At the end of the season, take the vines off the support while the stems still bend. Unfasten any ties and cut the vines into manageable sections if the tendrils are wound tightly. A net that has been cleared and dried is easier to store. Check where the lowest attachment worked well before folding the frame away so you can set it at the same height next spring.
Back to top